How to Access the Dedicated Server KVM
In this article, we will show you how to access the KVM for dedicated servers.
Note: You must have Java installed to use the KVM.
2. Click the “View Devices” link found in the “Device Manager” section of the left menu.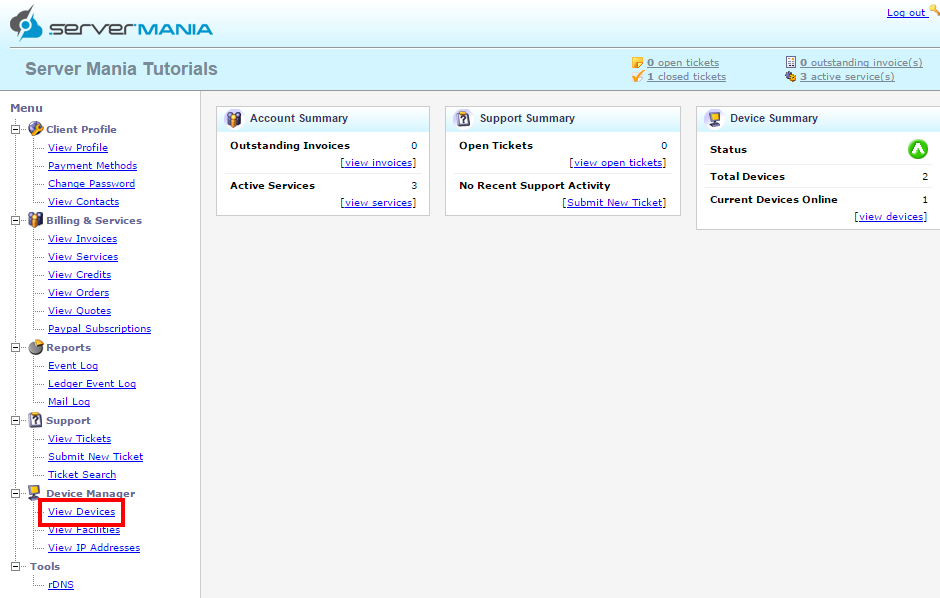
3. Select the dedicated server you wish to manage.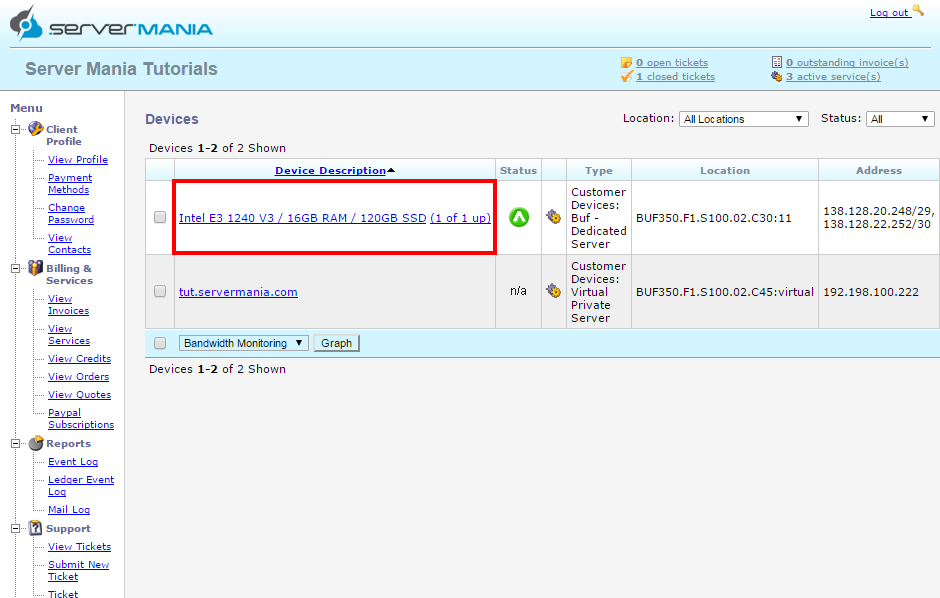
4. Click the “Launch KVM Console” button found in the “IPMI Information” section of the page.
5. You should be prompted to download a file. Once the file has been downloaded, open the file.
Please be aware that depending on the browser you use, you may be warned that the file is unsafe. This is a general message because of the file type being used. In this situation, it is safe to open the file.
6. Click the Run button.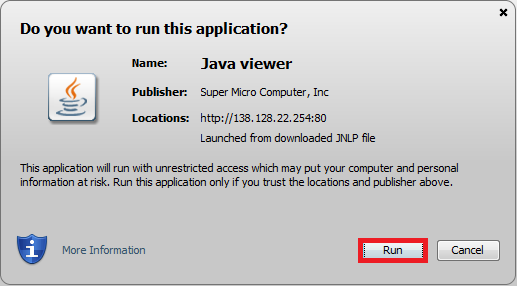
That’s it! You are now connected to your server using KVM.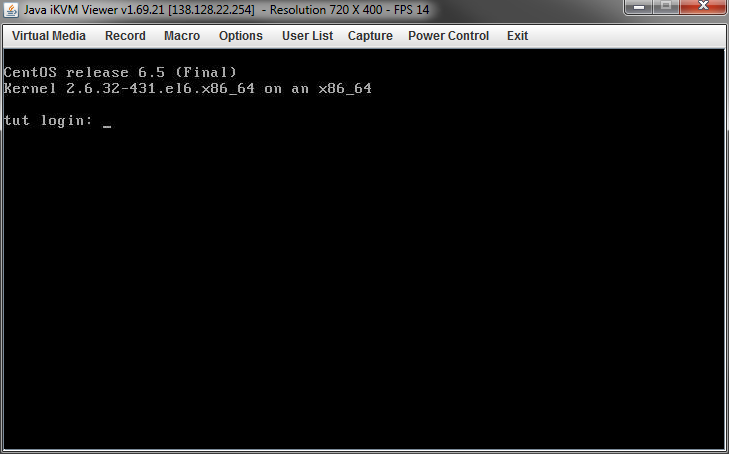
If you get a connection error, you will need to reset the the BMC. You can do this by going back to step 4 of this article and clicking the “Reset BMC” button. Please give it a few moments, then try clicking the “Launch KVM Console” button again and continuing with the article.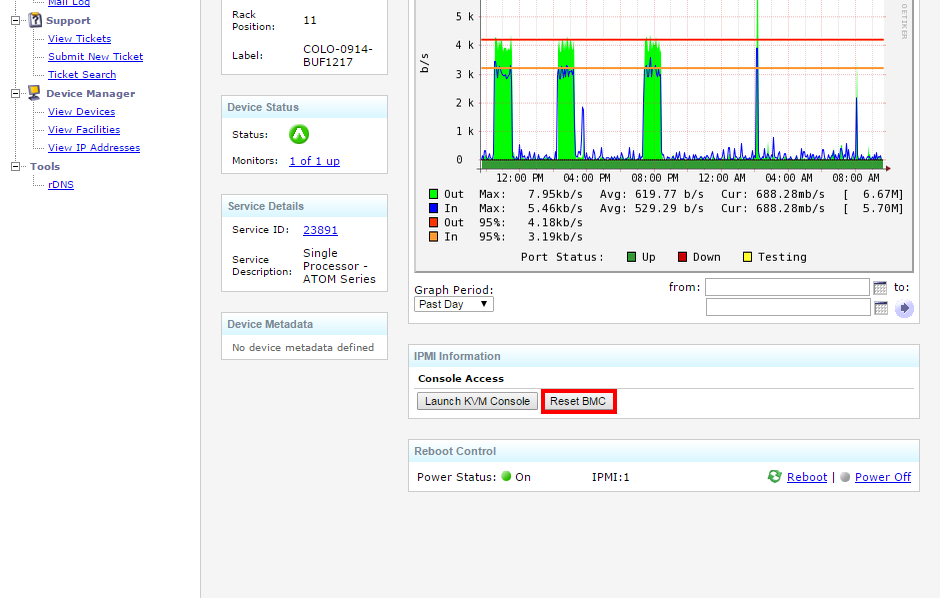
If resetting the BMC does not fix your connection issue, please try adding the location found in the popup on step 6 to the trusted site list in Java (found on the security tab in the Java configuration program). If you are still having issues connecting, please contact support.
About the author