How to Configure a Generic Routing Encapsulation (GRE) Tunnel in Networking

Generic Routing Encapsulation (GRE) tunneling is a popular subject in IT and a very demanding skill in an IT job.
So, if you want to learn more about GRE tunnels or want to configure a GRE tunnel on your network, then you are in the right place.
In this tutorial, we will explain what a GRE tunnel is and how to configure one.
What is GRE Tunnel?
GRE tunnel is an Encapsulation protocol made by Cisco. It is a protocol that enables one router to send packets to another router.
GRE tunnels connect two networks together allowing data to be transmitted between two networks as if they were directly connected. A GRE tunnel works as a tunnel between the two networks over the internet and that is why we call it a tunnel.
You may want to use a GRE tunnel for connecting two data centers or you could use it to send packets and data that are not sendable with other routing protocols or transport IPv6 traffic over an IPv4-only network.
A GRE tunnel has two endpoints. The first GRE tunnel endpoint is called the source, the other is called the destination. You can send data packets from the source, which is called the encapsulation process, and then receive them on the destination network, which is called the decapsulation process.
Why Use a GRE Tunnel?
The GRE tunnel is a popular protocol and it has been widely used in various networking scenarios. The main usage of the GRE tunnel is for encapsulating packets across two networks. But there are more usages than just these few for example it can be to connect two networks in the same location or different geographical locations.
By using just the GRE tunnel you cannot encrypt your connection because natively the GRE tunnel does not support encryption. But there is no need to worry about that because you can encrypt a GRE tunnel with a few small steps to securely connect the two points.
Usages of a GRE Tunnel
- GRE tunnels can be used to security connect to a data center
- GRE can be used to create tunnels over the internet
- GRE tunnels enable communication between IPv6 and IPv4 networks
- GRE tunnels can be used to support multicast traffic over networks that do not natively support multicast routing
- GRE tunnels can be used to connect geographically dispersed sites
What Does Encapsulated Protocol Mean?
According to the dictionary, ‘encapsulating’ means wrapping a thing inside another thing. In the same way, encapsulation protocol means wrapping a packet inside another packet.
Why do we encapsulate packets?
We should send encapsulated packets when we can not send packets through a normal protocol. Thus, we need to encapsulate a data packet when sending it to a network that is not supported.
For example, with a GRE tunnel, we could encapsulate packets that communicate between IPv6 and IPv4 networks.
How Does GRE Tunnel Works?
A GRE (Generic Routing Encapsulation) tunnel works by encapsulating one network protocol within another. It simply places a packet within another packet. Each of the new GRE packets has a header and a payload.
The GRE header stores the source, the destination, and various other values needed for getting the GRE packet to its destination. After the packet has arrived at its destination, then the header would be dismissed.
The payload part stores the original packet that needed to be transferred to the destination network.
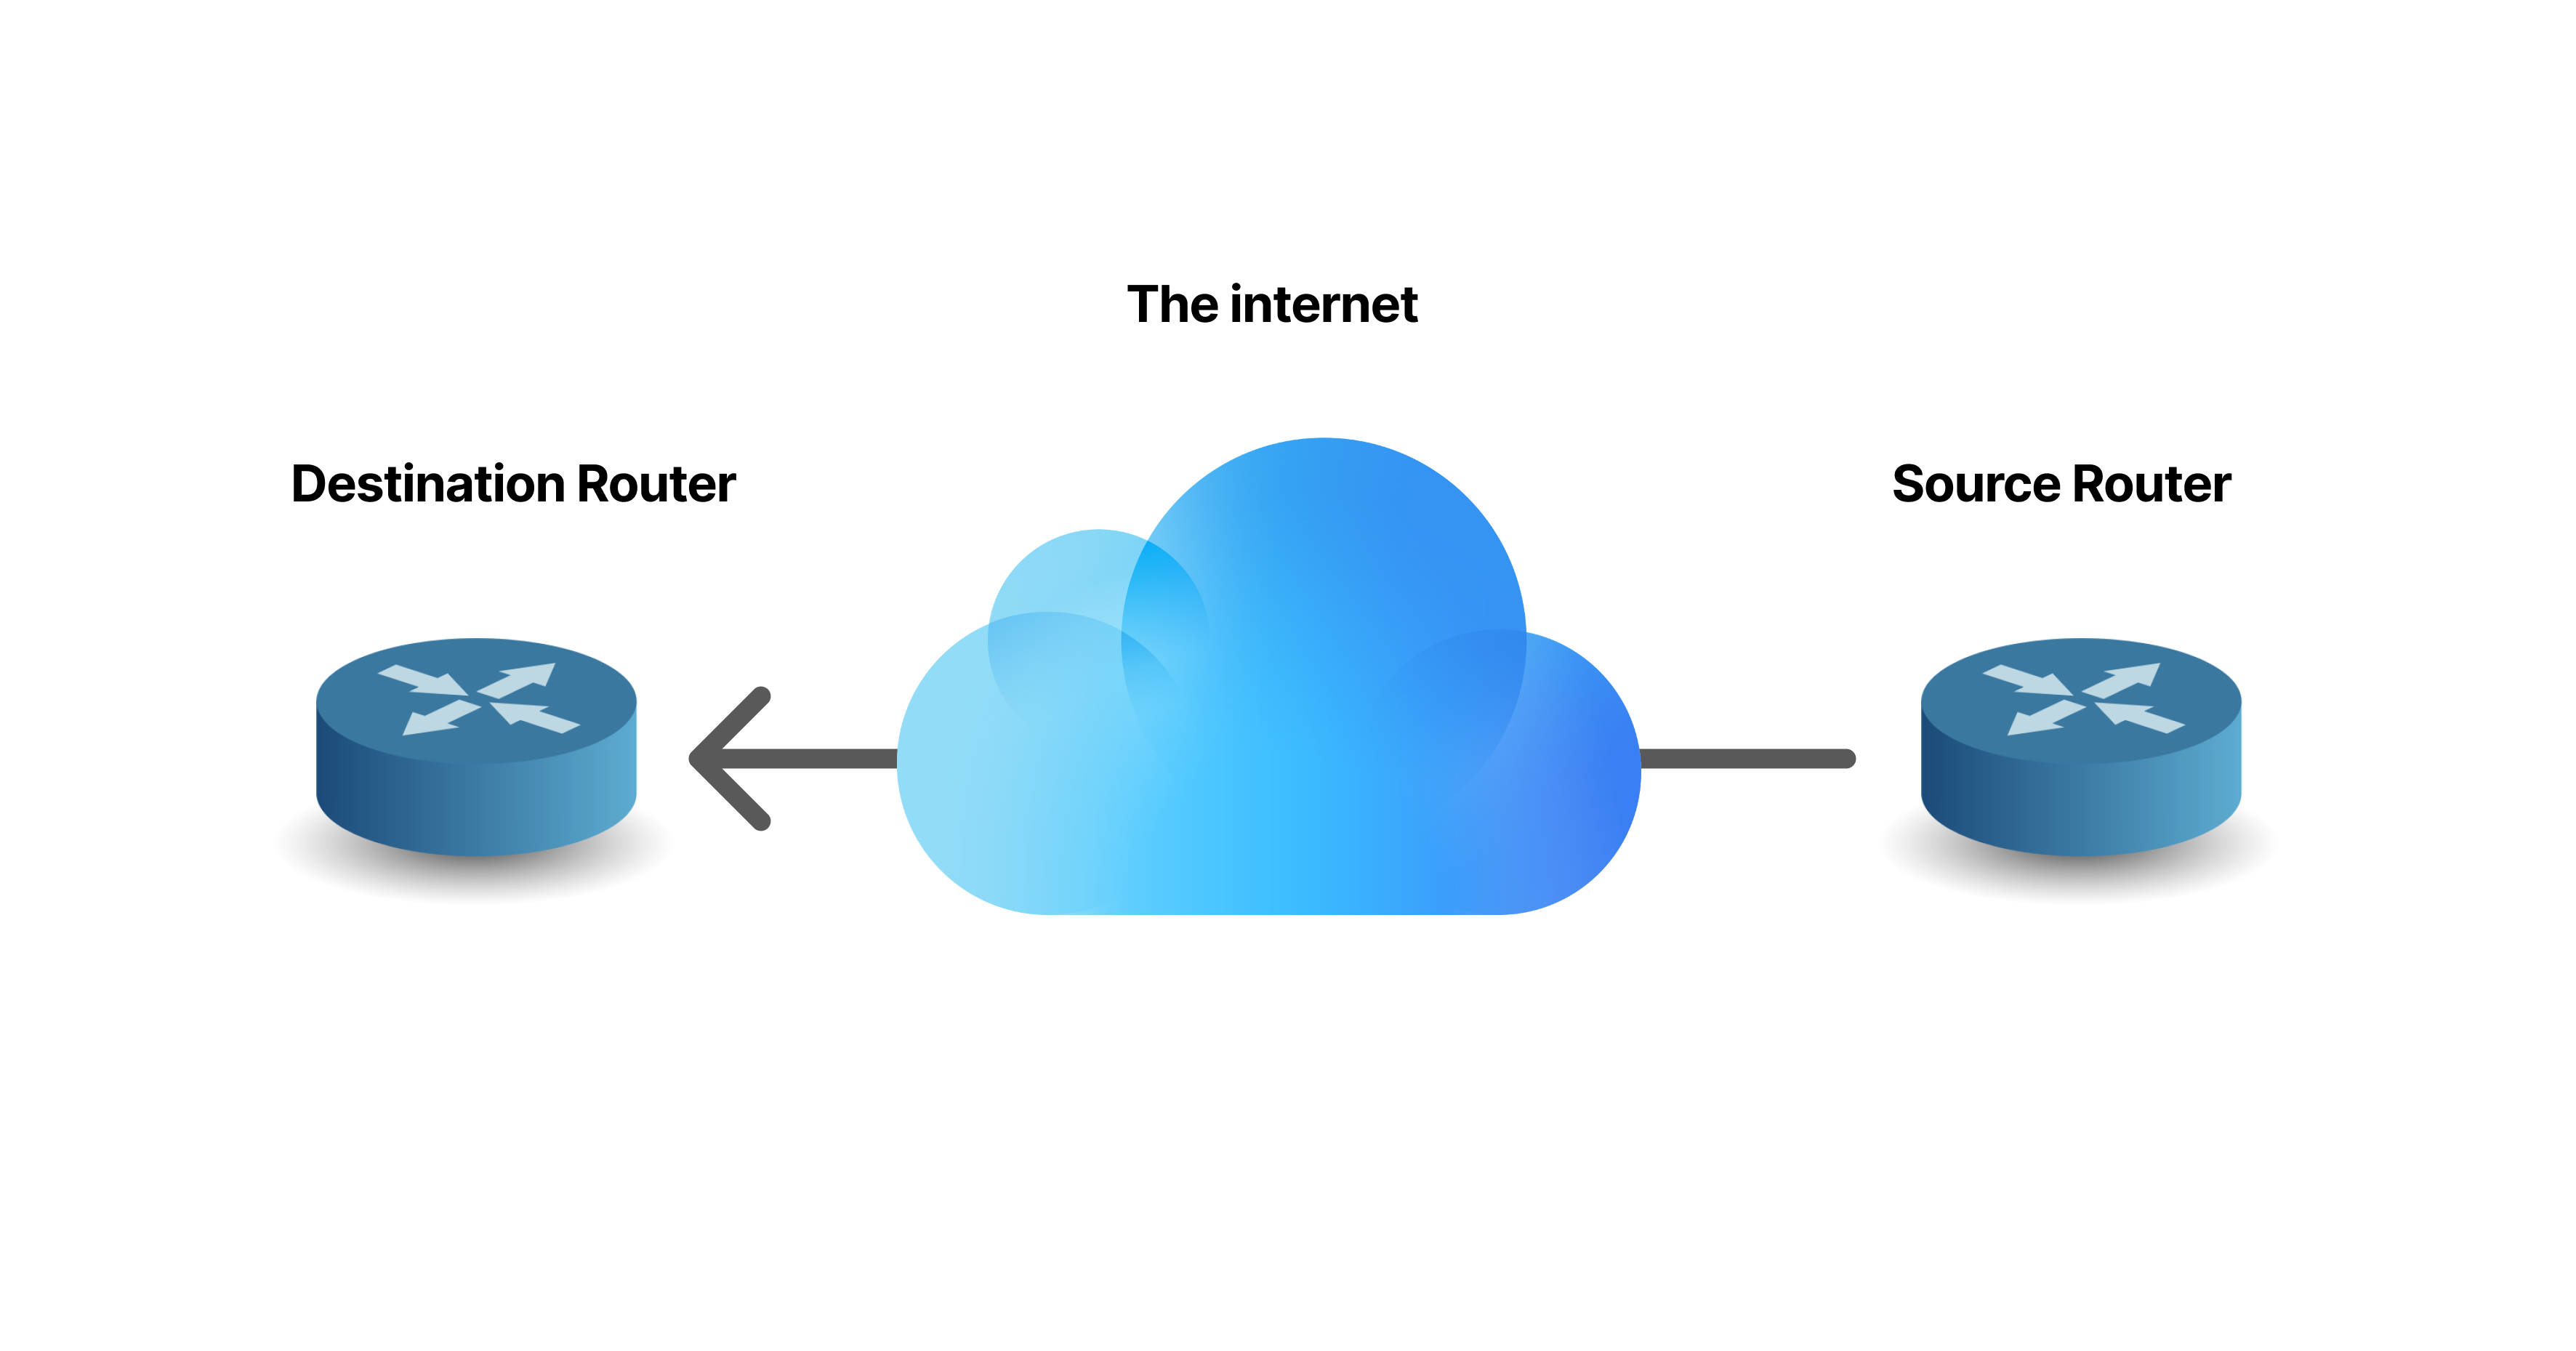
As you could see in the example below that two routers exchange packets throw the internet. But it would not be possible for the routers to communicate if there was no GRE tunnel configured. By using a GRE tunnel you could talk to any router on the globe if the IP address could be accessed.
The one that sends encapsulated packet is called the source, and the other that receives the packets is called the destination.
See also: Server VS Switch
Before We Begin
Configuring a GRE tunnel involves the configuration of two routers together. The steps that we provide below might slightly differ on your router according to your router’s model and OS.
In the below, we are gonna use two routers, router A and router B. The router A is the source, and the router B is the destination.
Before starting, make sure that your routers can reach each other via the IP address.
Configuring a GRE Tunnel
For configuring a GRE tunnel please follow the below steps:
Access the command-line interface
The first step is to access the command-line interface of router A. A command-line interface is the CLI of a router.
Enter configuration mode:
Type the command below to enter the configuration mode:
configure terminalCreate the GRE tunnel interface:
Type the command below to create a tunnel interface:
interface tunnel [TUNNEL_NUMBER]Choose a unique number for the tunnel, e.g., tunnel 0 or tunnel 100.
Configure the source IP address of the tunnel
Configure the source IP address of router A’s IP address on the tunnel by typing the command below:
ip address [SOURCE_TUNNEL_IP] [SUBNET_MASK]Replace [SOURCE_TUNNEL_IP] with the IP address you want to use for Router A’s side of the tunnel.
Configure the destination IP address of the tunnel
Configure the destination IP address of the router B’s IP address on the tunnel by typing the command below:
tunnel destination [DESTINATION_TUNNEL_IP]Replace [DESTINATION_TUNNEL_IP] with the IP address of Router B’s side of the tunnel.
(Optional) enable keepalives to monitor the tunnel’s health
The command below is optional. If you need to enable keepalive you could enable it by typing the command below:
tunnel source [SOURCE_PHYSICAL_INTERFACE]Replace [SOURCE_PHYSICAL_INTERFACE] with the interface that provides the source IP address for the GRE tunnel. For example, GigabitEthernet0/1 or FastEthernet1/0.
Exit the tunnel
Exit the tunnel interface configuration by typing the command below:
exitAssociate the tunnel with the physical interface through which it will send the encapsulated traffic:
interface [OUTGOING_INTERFACE]Replace [OUTGOING_INTERFACE] with the interface facing the network where the encapsulated traffic will be sent.
Enable IP routing on Router A if it’s not already enabled:
ip routingAfter doing the above steps, configure the Destination Router (Router B). Follow the same steps as above, but use the corresponding IP addresses for Router B. You need to create the same GRE tunnel interface with the same tunnel number and configure the destination IP address as Router A’s IP.
Now you need to Verify the Configuration. Once you have configured the GRE tunnel on both routers, you can verify the status and functionality of the tunnel using various commands, such as:
show interface tunnel [TUNNEL_NUMBER] show ip route ping [DESTINATION_TUNNEL]These commands will allow you to see the status of the tunnel interface, check the routing table, and test connectivity over the GRE tunnel.
Remember that GRE protocol does not provide inherent security, so if security is a concern, consider using IPSec to encrypt and authenticate the traffic flowing through the tunnel. Also, make sure that the network is in between Router A and Router B and has appropriate routing for the tunnel endpoints.
See also: Hyper-V Switch
Summary
The Generic Routing Encapsulation tunnel or simply the GRE tunnel is a must have skill in IT. In this tutorial you have learned about the GRE tunnel, how to configure one, and in-depth information about how it works.
GRE encapsulation protocol is used for various purposes. One of the main usages of a GRE tunnel is sending packets to a network that could not support the other protocols.
You could also set up a Virtual Private Network (VPN) with a GRE tunnel. If you are interested in setting up a VPN you could see how to setup your own VPN server.
Next Step
Now that you have acquired skills and knowledge about GRE tunnels and what they are used for, you are now able to work with them and set them up. We also recommend taking a look at our Knowledge Base to see our latest articles and tutorial videos. And check out our cloud server hosting if you are interested in renting a cloud server.
Was this page helpful?
About the author