What is psyBNC and how do I use it?
psyBNC is a popular IRC bouncer tool which is still commonly used by IRC users today. It contains many features to help improve the IRC client experience.
This article explains step by step on how to download, install and setup psyBNC.
What is psyBNC?
psyBNC is an IRC bouncer. An IRC bouncer acts as a middleman between you and an IRC server. Instead of connecting to an IRC server directly, you would connect to your bouncer so that a connection between your server and the IRC server is always active. This ensures your nickname is always active on any servers and you can read any messages sent while you were gone. psyBNC also contains many features such as asynchronous resolving and multi-client support.
How to Install psyBNC
Step 1: Connect to the server via SSH
Login to your shell using SSH to your ServerMania cloud or dedicated server.

Step 2: Install Dependancies
apt install make gcc libncurses5-dev
Step 3: Download psyBNC
wget –no-check-certificate https://psybnc.org/download/beta/psyBNC-2.3.2-9.tar.gz
Step 4: Extract the psyBNC archive
tar -zxvf psyBNC-2.3.2-9.tar.gz
Step 5: Change into the psyBNC Directory
cd psybnc
Step 6: Set the Configuration Options
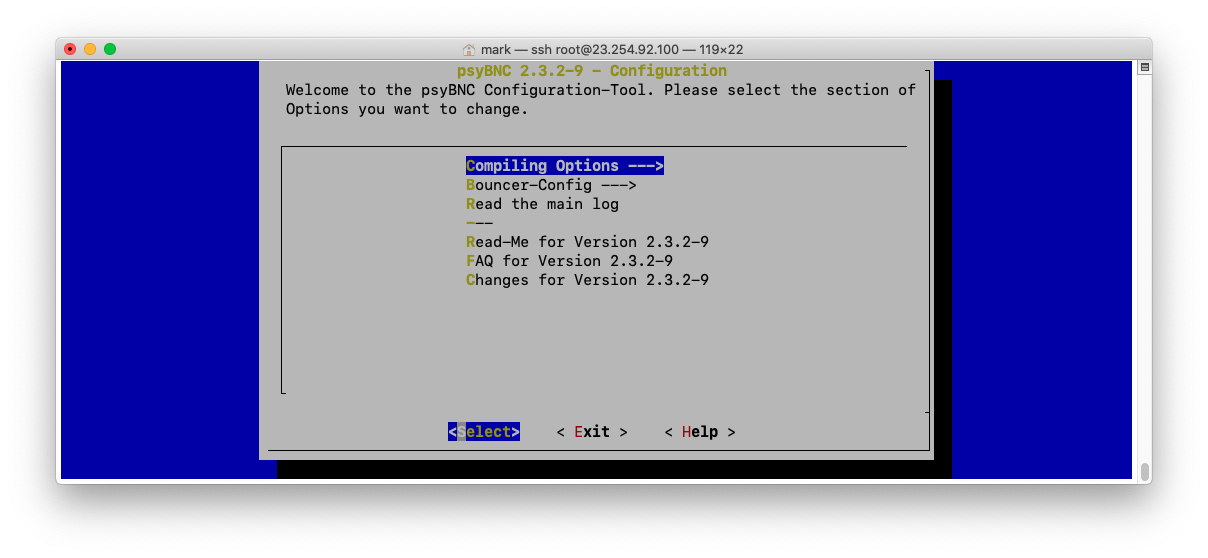
make menuconfig
If you got the GUI, then you need to configure all the settings to your liking. Make sure Compiling Options is highlighted and then press enter. [X] means the option is selected and [ ] means it is not, if there is something selected you do not want enabled, scroll down to the line using the arrow keys and hit space.
If there is something not enabled that you do what enabled, do the same thing, scroll down and hit space. After you’re done with that part, you can exit the menu by hitting the left arrow key and pressing enter. Now press the down arrow key to highlight Bouncer Config, it will take you inside another menu where you need to edit everything to your liking. Be sure to add a new user, configure the port you would like the bnc to run on and any other options you might want to customize. After you’re done with everything, exit all the menus.

Step 7: Make psyBNC
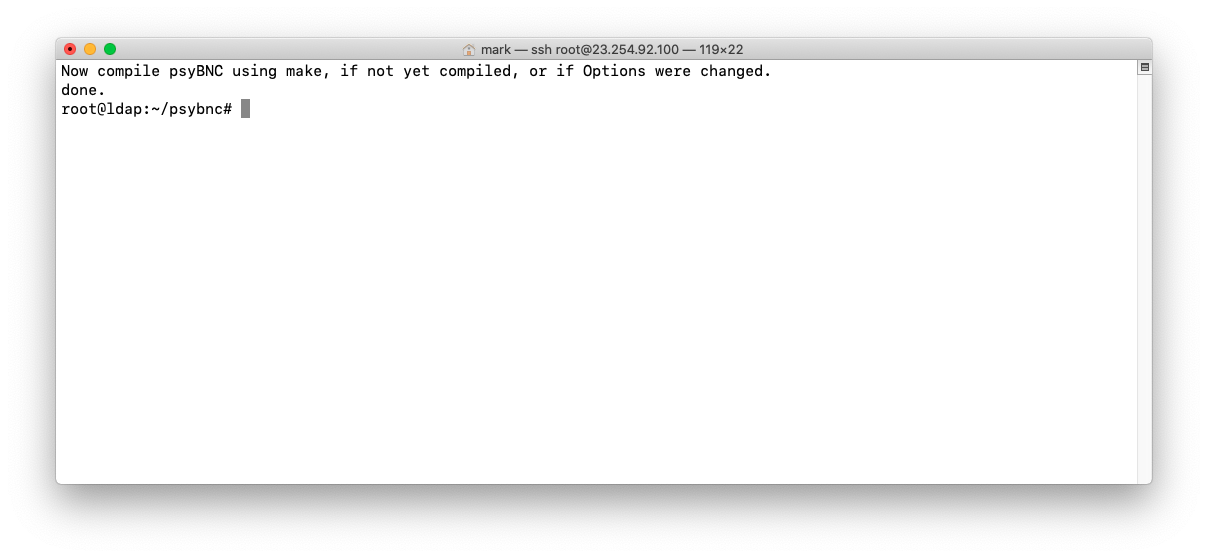
make
After you have exited all the menus, it should have compiled everything. You can now type:
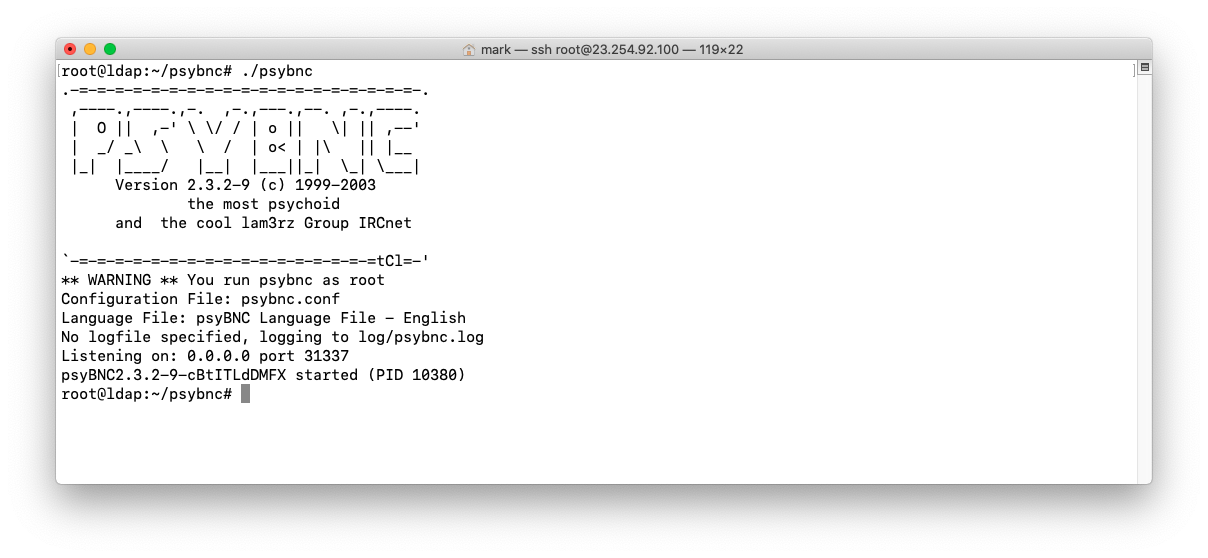
./psybnc
Your psyBNC bouncer is now configured and running!
How to Use psyBNC
Using an IRC client, execute the following command to connect to your psyBNC bouncer:
/server SERVERIP PORT PASSWORD
Replace SERVERIP with the IP of your ServerMania server, along with your psyBNC port and psyBNC password.
Now you can add a server like freenode and join a channel:
/addserver wolfe.freenode.net :6667
Next Steps
Now that you’ve installed psyBNC, check out the rest of the articles on our knowledge base for more server tutorials. ServerMania offers a wide range of cloud and dedicated servers to fit all needs and budgets. Request a custom quote from our sales team to learn more!
Was this page helpful?

