Installing a Counter Strike: Global Offensive Server: Ultimate Guide Tips and Tricks
This article will walk you through how to setup a Counter Strike: Global Offensive on Windows 10.
CS:GO Server System Requirements
You’ll need:
- A Windows 10 server
- A sufficient amount of RAM: We recommend at least 8GB
See Also: (Live Webinar) Meet ServerMania: Transform Your Server Hosting Experience
Installation Instructions
Step 1: Download SteamCMD
Start by downloading SteamCMD. The Steam Console Client or SteamCMD is a command-line version of the Steam client.
Step 2: Create Required Folders
Create a folder for SteamCMD and another for your CS:GO server.
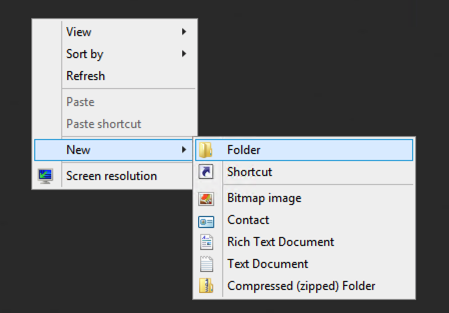
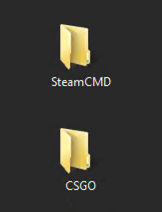
Step 3: Extract Files
Unzip the SteamCMD.zip file and place the content in the folder you just created.
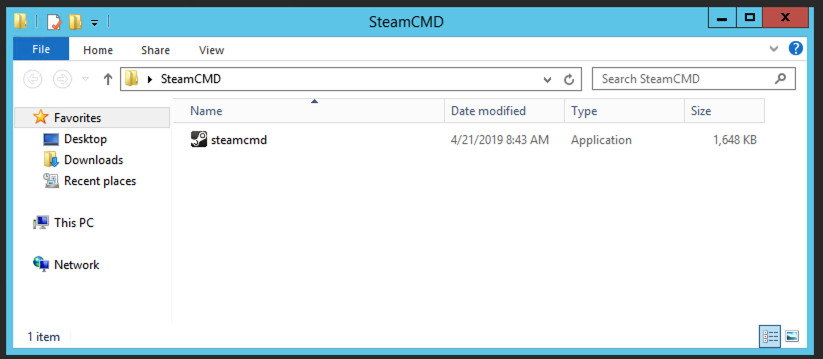
Step 4: Download CS:GO Files
Navigate to your SteamCMD folder and open the steamcmd.exe file. The file will download all of the necessary files and updates.
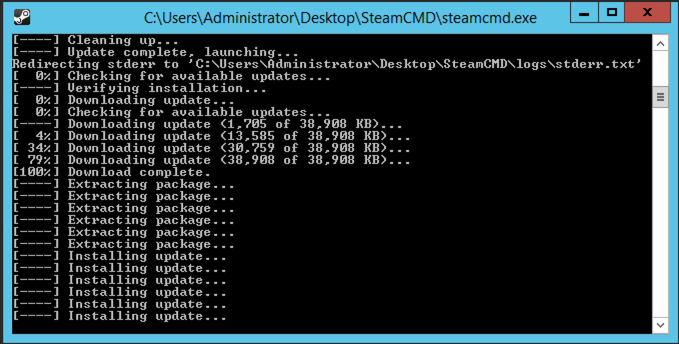
Enter the following commands. Replace the bolded section with the path to your CS:GO folder you created earlier. You can right click on the folder and click Properties to copy the path.
force_install_dir “C:UsersAdministratorDesktop”login anonymousapp_update 740 validate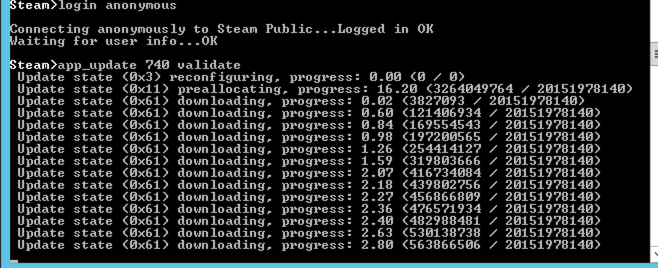
Steam will download the CS:GO server files at this time.
Step 5: Setup a Steam Auth Token
Visit the Steam website and generate a server auth token for your account. Use app ID 740.

Copy down the generated login token.
Step 6: Create A Startup Script
Right click inside of your CS:GO folder and select New -> Text Document.
In the document, enter the following, replacing YOUR AUTH TOKEN with the login token we generated above:
For Competitive:
srcds -game csgo -console -usercon +game_type 0 +game_mode 1 +mapgroup mg_active +map de_dust2 +sv_setsteamaccount “YOUR AUTH TOKEN”
For Casual:
srcds -game csgo -console -usercon +game_type 0 +game_mode 0 +mapgroup mg_active +map de_dust2 +sv_setsteamaccount “YOUR AUTH TOKEN”
For Arms Race:
srcds -game csgo -console -usercon +game_type 1 +game_mode 0 +mapgroup mg_armsrace +map ar_shoots +sv_setsteamaccount “YOUR AUTH TOKEN”
For Demolition:
srcds -game csgo -console -usercon +game_type 1 +game_mode 1 +mapgroup mg_demolition +map de_lake +sv_setsteamaccount “YOUR AUTH TOKEN”
For Deathmatch:
srcds -game csgo -console -usercon +game_type 1 +game_mode 2 +mapgroup mg_allclassic +map de_dust +sv_setsteamaccount “YOUR AUTH TOKEN”
Step 7: Save the Document
Save the document as start.bat. This file should be located in the same directory as your srcds.exe file.
Step 8: Start the Server
Double click on start.bat to start the server and you’re all set!
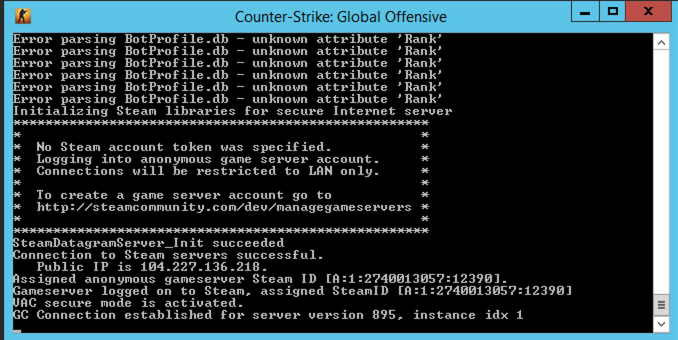
Connecting to Your CS:GO Server
Step 1: Find your public IP address
Visit Google and type in “What’s my IP”. Your public IP address will be displayed here. This is the IP which remote users can connect to. Please note that most residential ISPs utilize dynamic IPs, so this address may change periodically. If you choose to buy a game server online instead, you’ll have one static IP.
Step 2: Add the Server IP into Steam
Open Steam and click on the View > Servers menu.
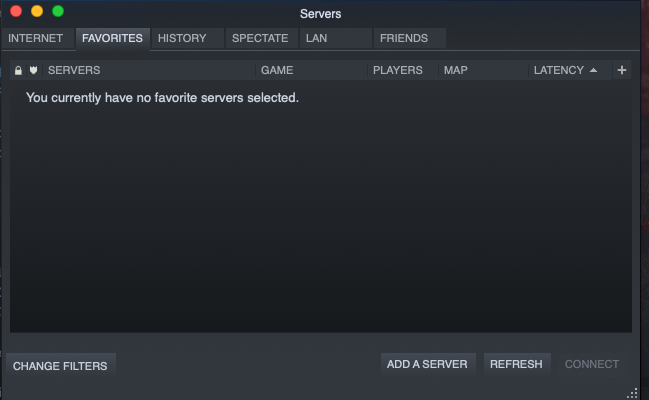
Click the Add A Server button and enter your public IP address.
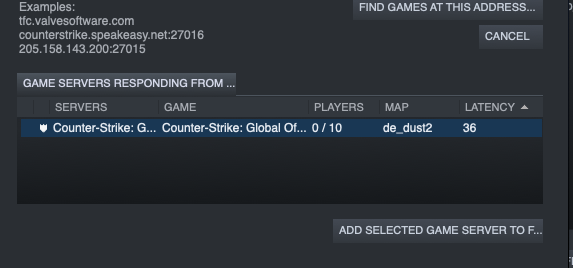
If your server is configured properly, it will appear here.
Step 3: Connect to the Server
Open CS:GO and you will find your server in your Favourites list.
That’s all!
If you want more information on games and hosting, check out Dedicated Game Sever Hosting.
Was this page helpful?

