How to Setup PHP on Nginx with FastCGI PHP-FPM Configuration

PHP and Nginx are classical tech stacks. They offer many possibilities for developers. But as a website becomes more popular and starts attracting more users, it’s necessary to make adjustments and adapt to higher traffic. One solution to assist with this is PHP-FPM.
PHP-FPM is a PHP FastCGI alternative with some added features. When combined with Nginx, it works perfectly.
In this tutorial, we will explain how to setup PHP, and Nginx with PHP-FPM on a Linux server.
Introduction
PHP with Nginx is a classic and highly adopted stack used by many websites around the world. PHP, as you may be well aware, is an old, but solid programming language that continues to be utilized today by many large enterprises. Some well known applications that run off of PHP include WordPress, Facebook, and Drupal.
See also: Python VS PHP
Nginx on the other hand, is a stable, popular, and efficient web server, and is the most used web server in the world. Around 33.6% of all servers on the internet use Nginx.
PHP-FPM is a robust alternative to PHP FastCGI implementation. It is especially useful for busier websites that have a high amount of traffic.
Now, let’s explore what these tools are and how they are utilized in the context of server management.
What is FastCGI
Fast CGI is a binary protocol that enables programs (PHP) to interact with a web server. It allows a server to perform faster by enabling it to handle more web traffic coming through the server.
FastCGI is an improved variation of the older protocol named CGI (Common Gateway Interface). FastCGI was first introduced in the mid-1990s by Open Market. To this day, it is still widely used.
What is PHP FPM
The FastCGI Process Manager is a widely used PHP FastCGI implementation that offers several features specifically designed for high-traffic websites.
As mentioned before it uses FastCGI protocol, which allows it to receive traffic coming from the Nginx server and then processes the PHP independently. In this method, two services are used for better efficiency and speed. First, the Nginx server handles HTTP requests and then the PHP-FPM handles PHP code.
Advantages of PHP FPM
- Enhanced process management with a seamless stop-and-start mechanisms
- Customizable logging for standard output and error streams
- Emergency restart
- Basic and extended status info with various formats like JSON, XML, and open metrics supported
- php.ini-based config file
Setup Guide
Now, we are going to explain how to set up PHP on Nginx with PHP FPM on a Linux server. But before we start you need to have a Linux server or a virtual server up and running.
If you don’t have one, check out the ServerMania Cloud. We will help set you up with a server that suits your business needs and project requirements.
Alternatively, if you just want to test PHP-FPM, you can deploy this on your local machine. In this tutorial, we’ll show you how to deploy on a Mac or Linux machine.
Note that this tutorial is only designed for UNIX-based computers.
SSH into your remote server
The first step is to SSH into your remote server by typing the command below on your terminal:
ssh -i [.PEM_FILE_LOCATION] [USERNAME]@[IP_ADDRESS]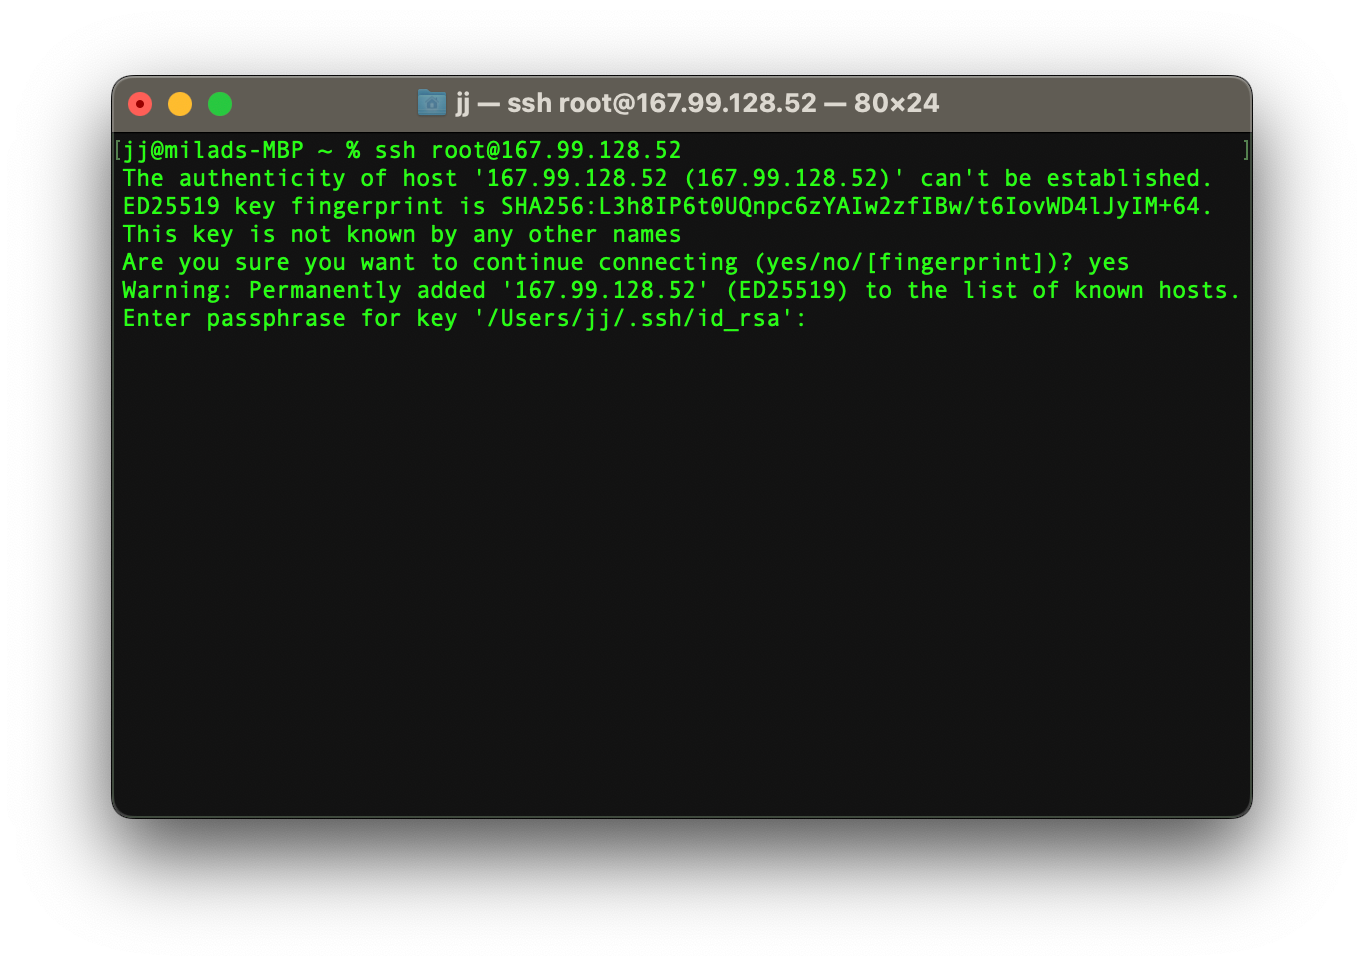
Note! the .PEM_FILE_LOCATION is not necessary if you can log into your server by password or other means of authentication as shown in the picture above.
Update your Linux packages
It is compulsory to update the Linux packages before installing or updating the current ones. Type the commands below to update your Linux packages.
sudo apt update
sudo apt upgrade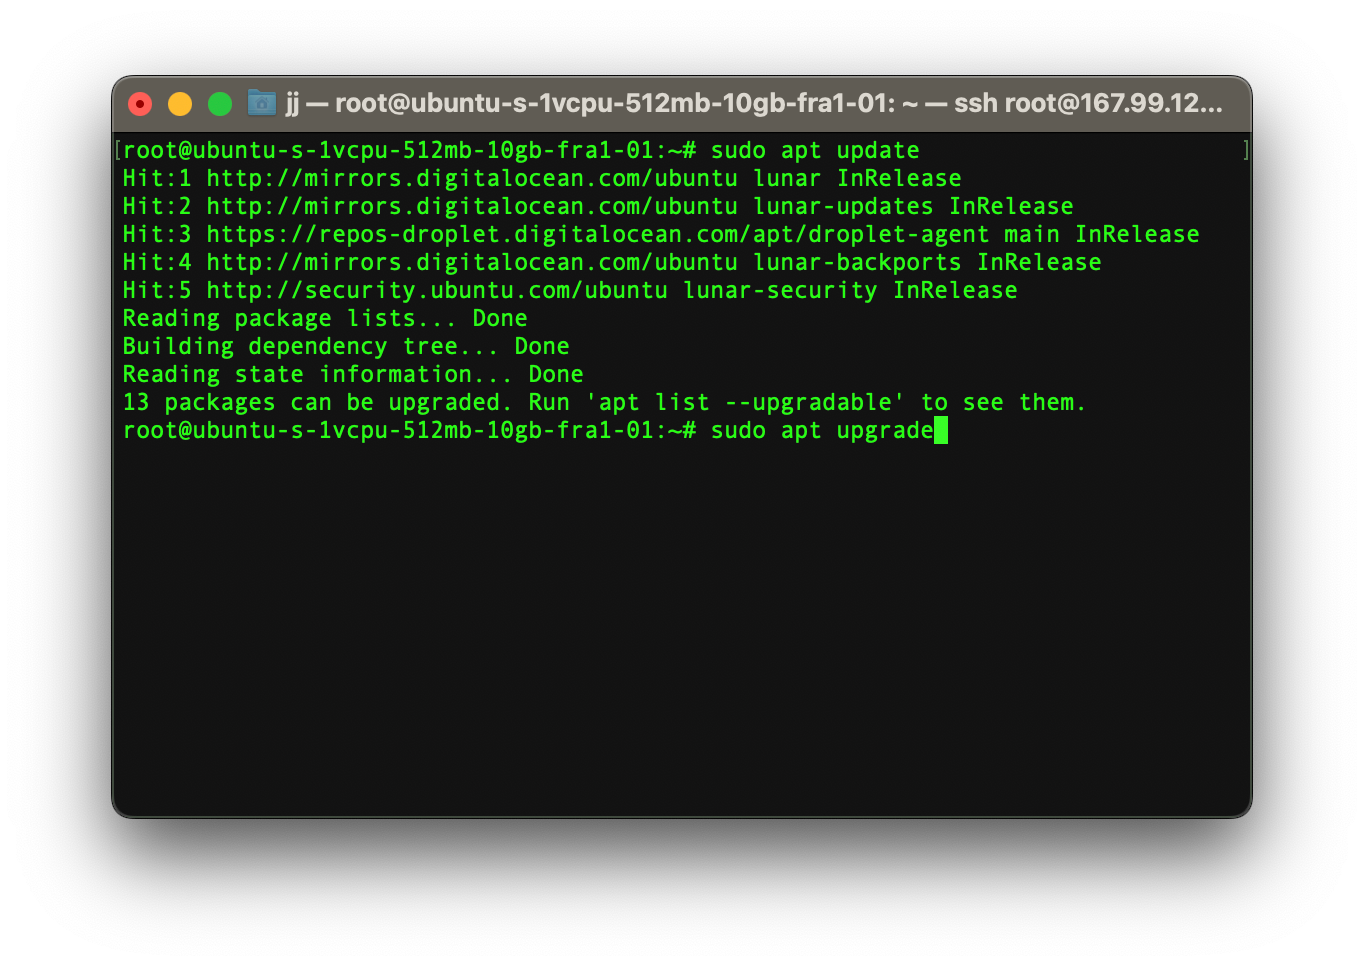
Install the necessary packages
Now at this stage, we need to install three compulsory packages.
Install Nginx
Type the command below to install Nginx:
sudo apt install nginx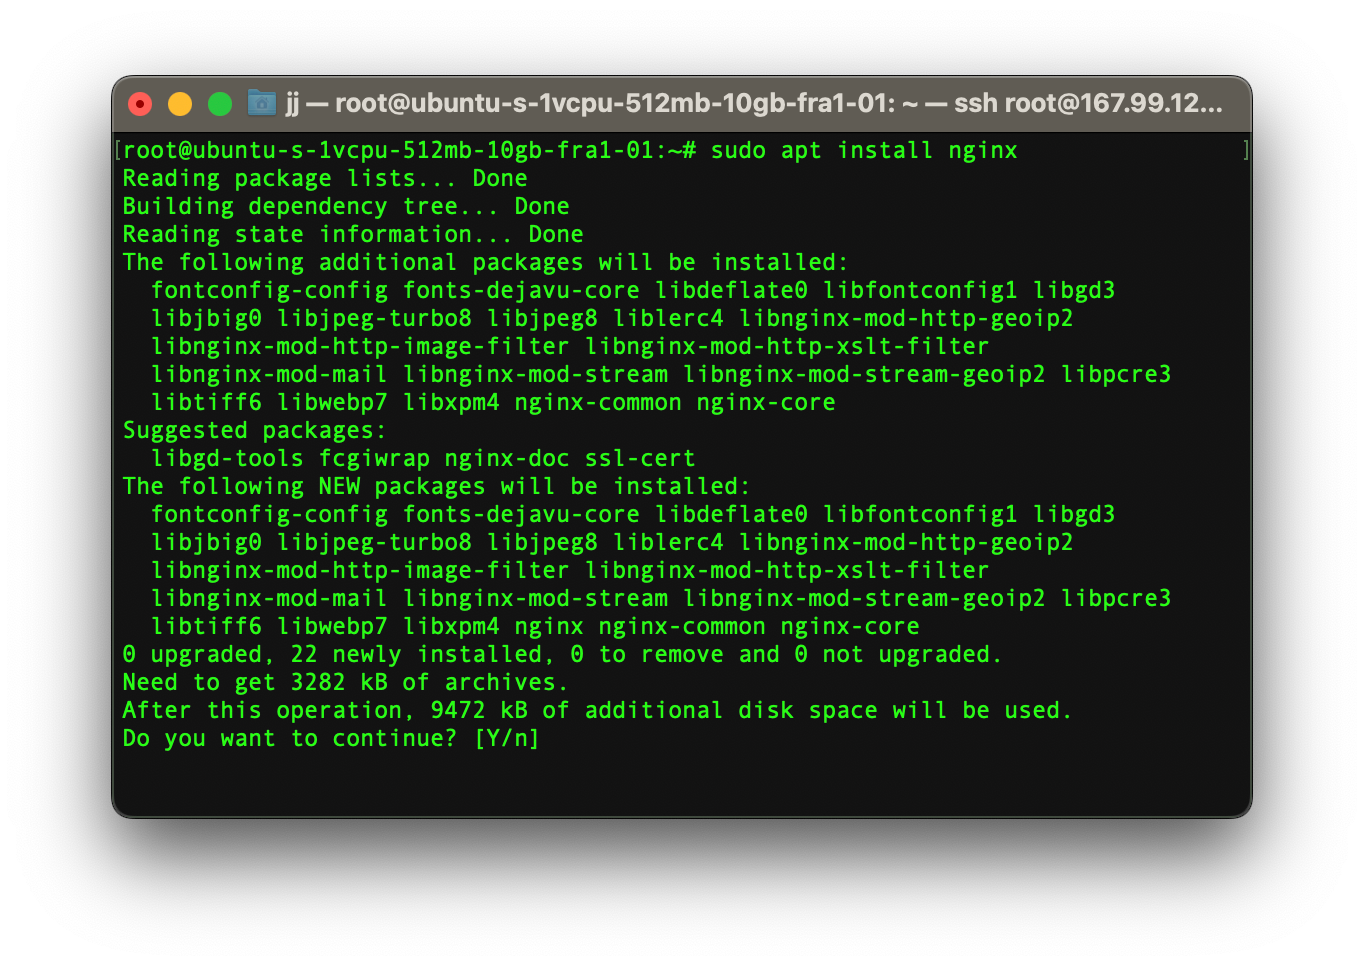
To check the status of your Nginx server, type the command below:
sudo systemctl status nginx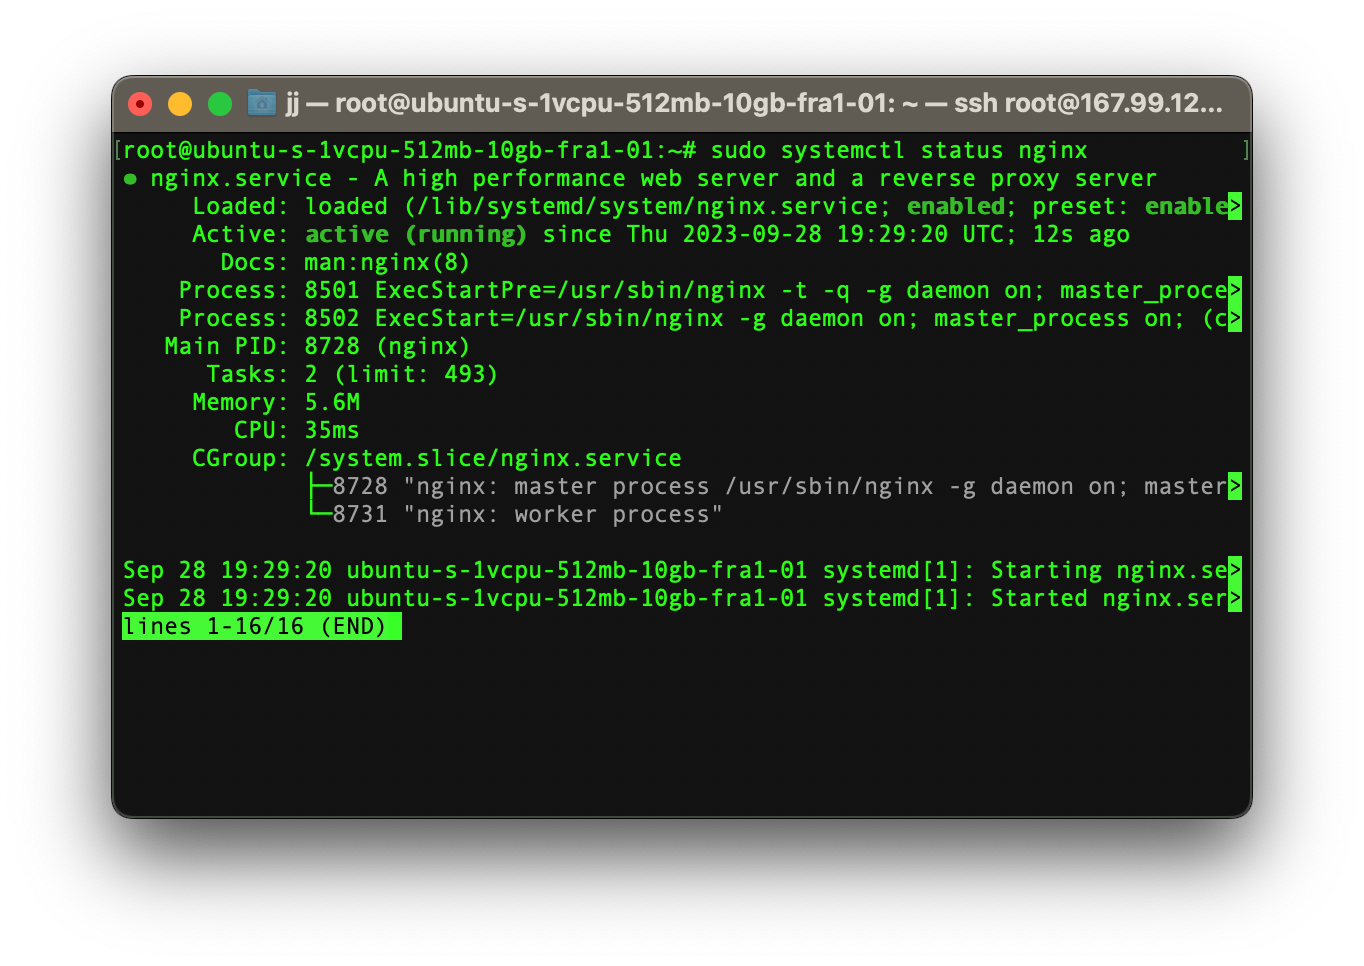
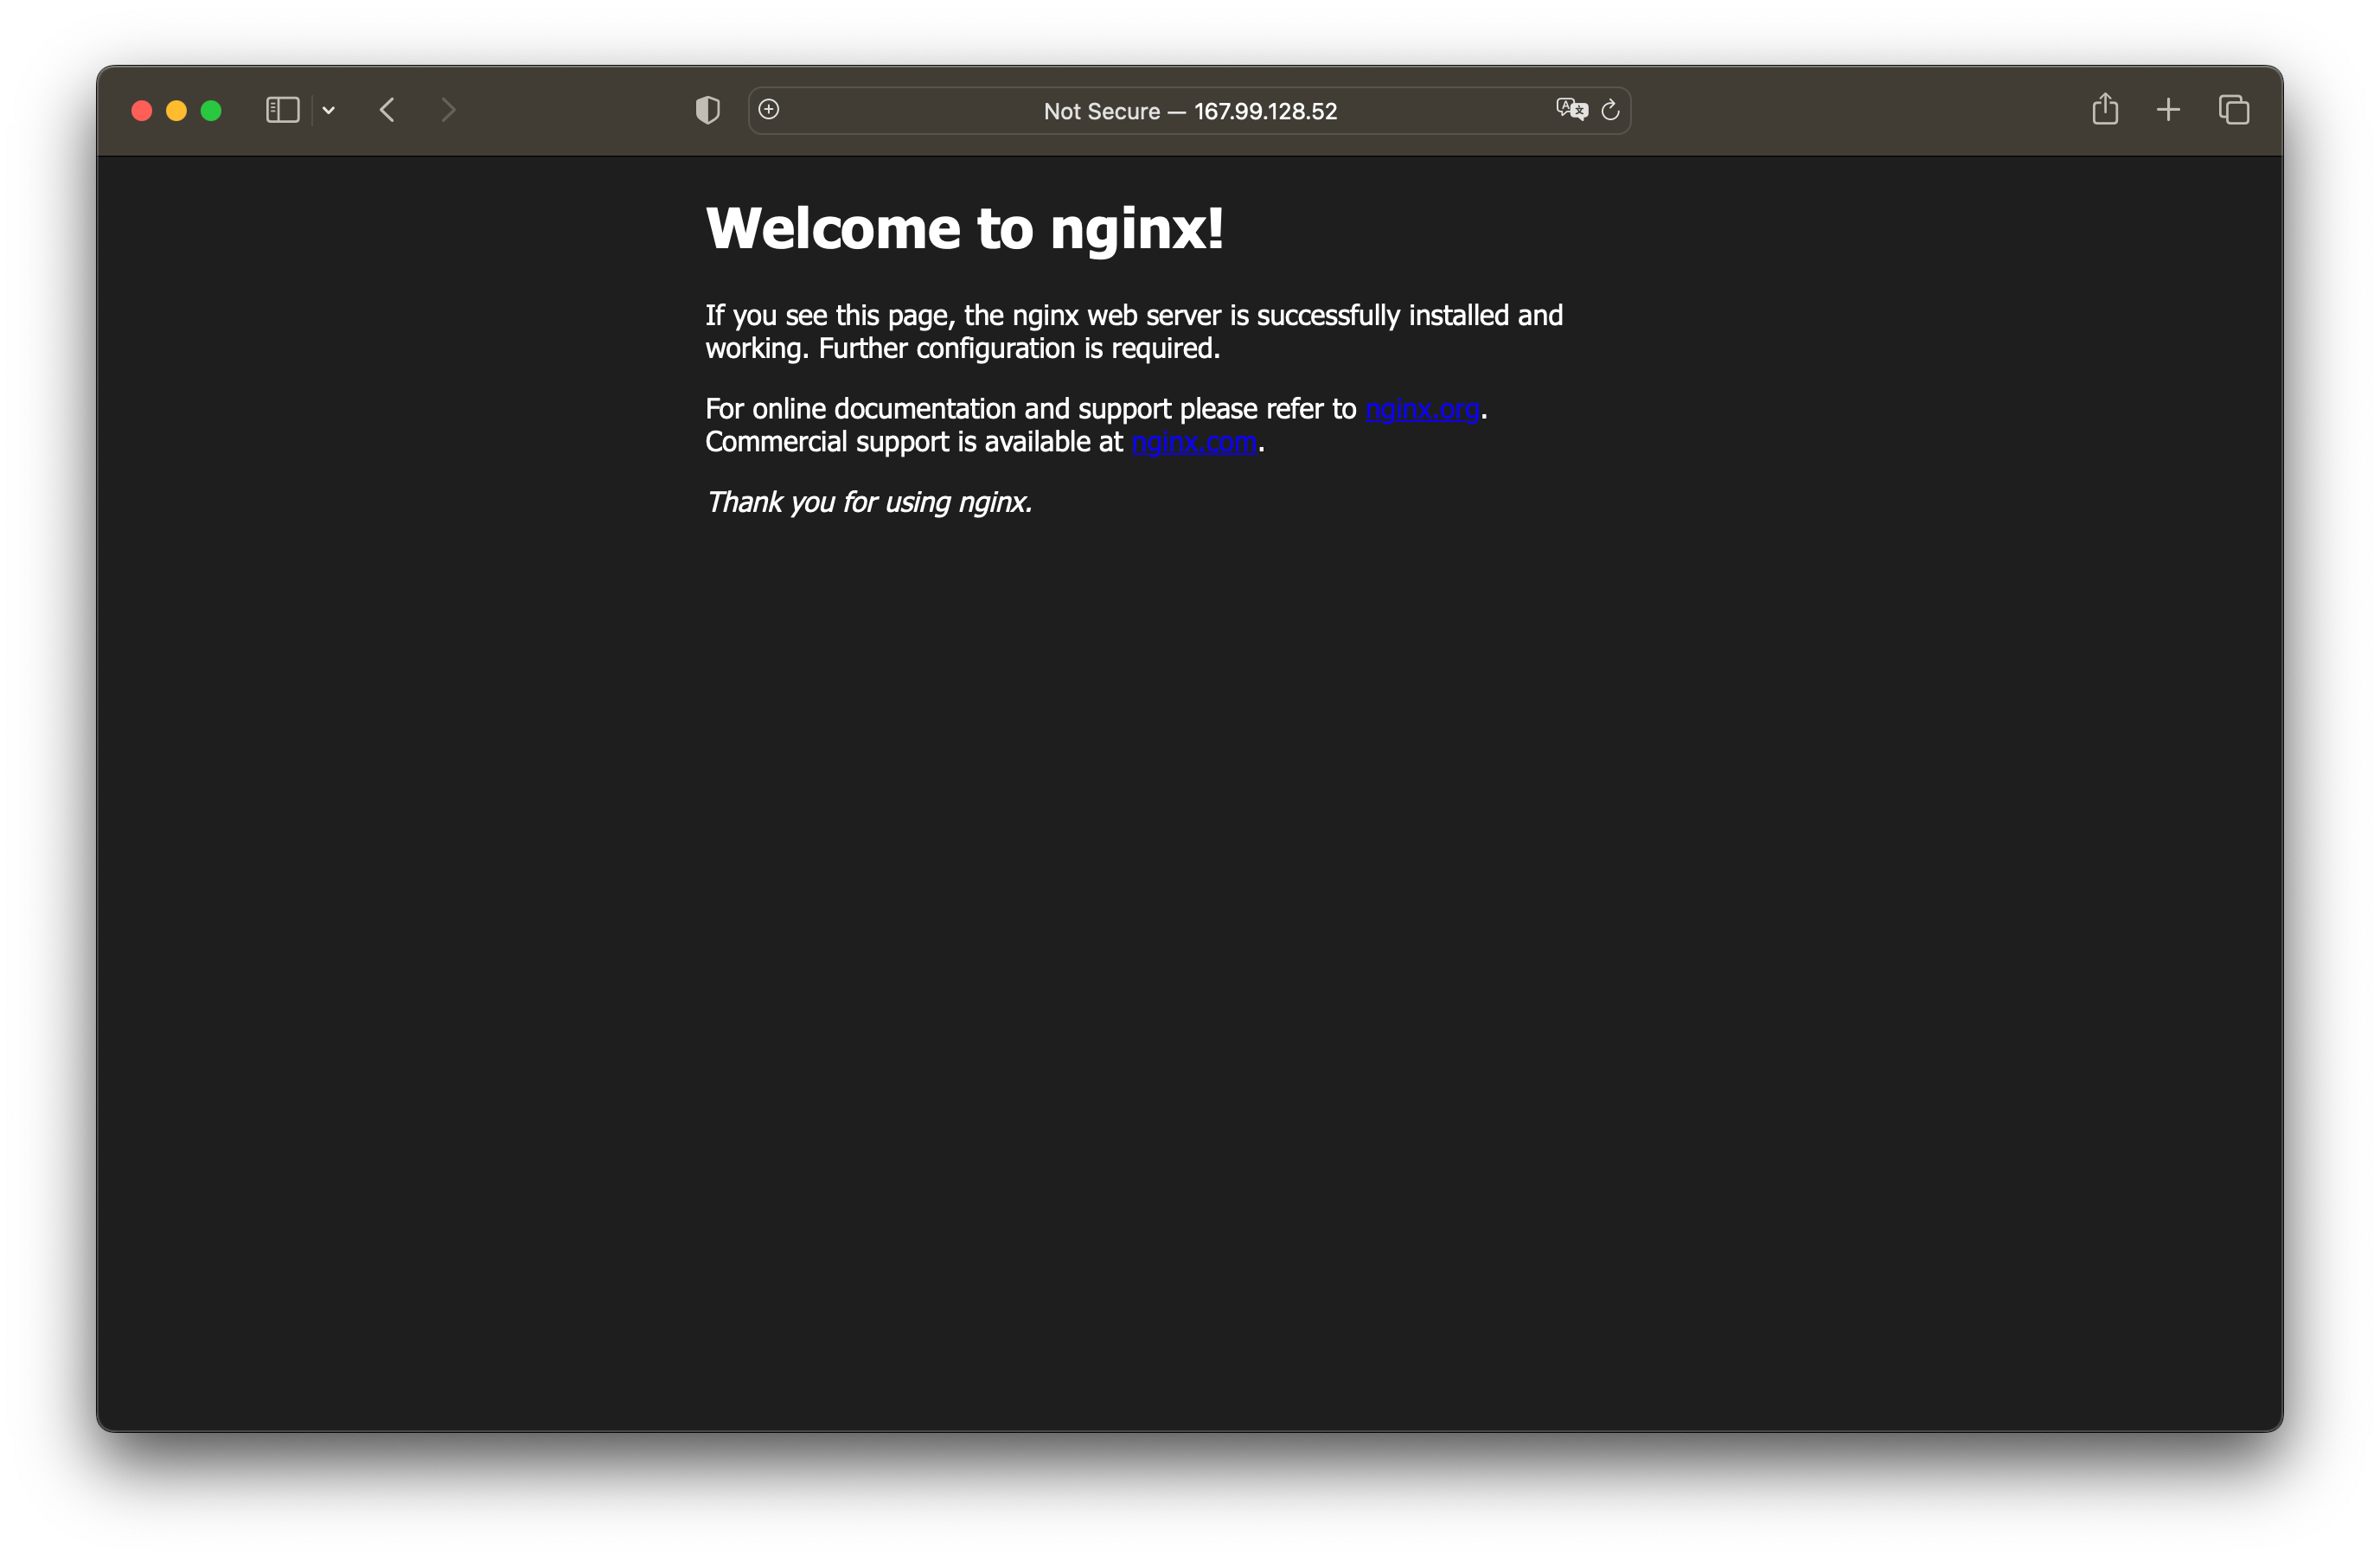
As you can see, the server is up and running and you can access it via a web browser.
Install PHP-FPM
Now we need to install PHP, however, the original PHP packages come with an Apache server, which will conflict with our current web server (Nginx). To avoid this problem, we need to install the PHP-FPM package.
See also: Nginx vs. Apache
To install the PHP-FPM package, type the command below:
sudo apt-get install php8.1-fpm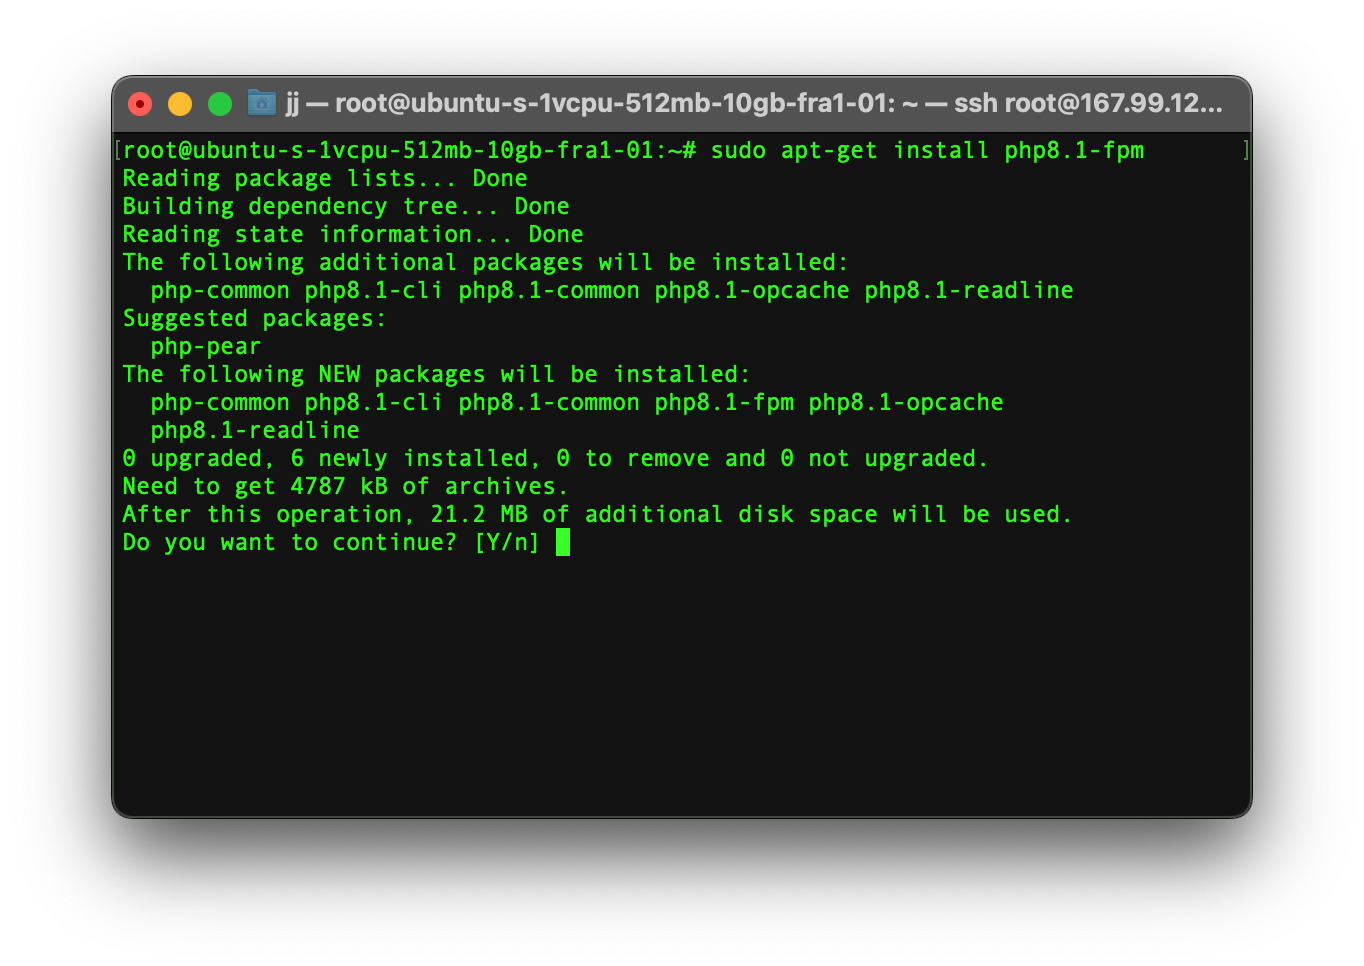
Note! you can replace “8.1” with your desired PHP version.
To check if PHP-FPM is running, run the command below:
sudo systemctl status php8.1-fpm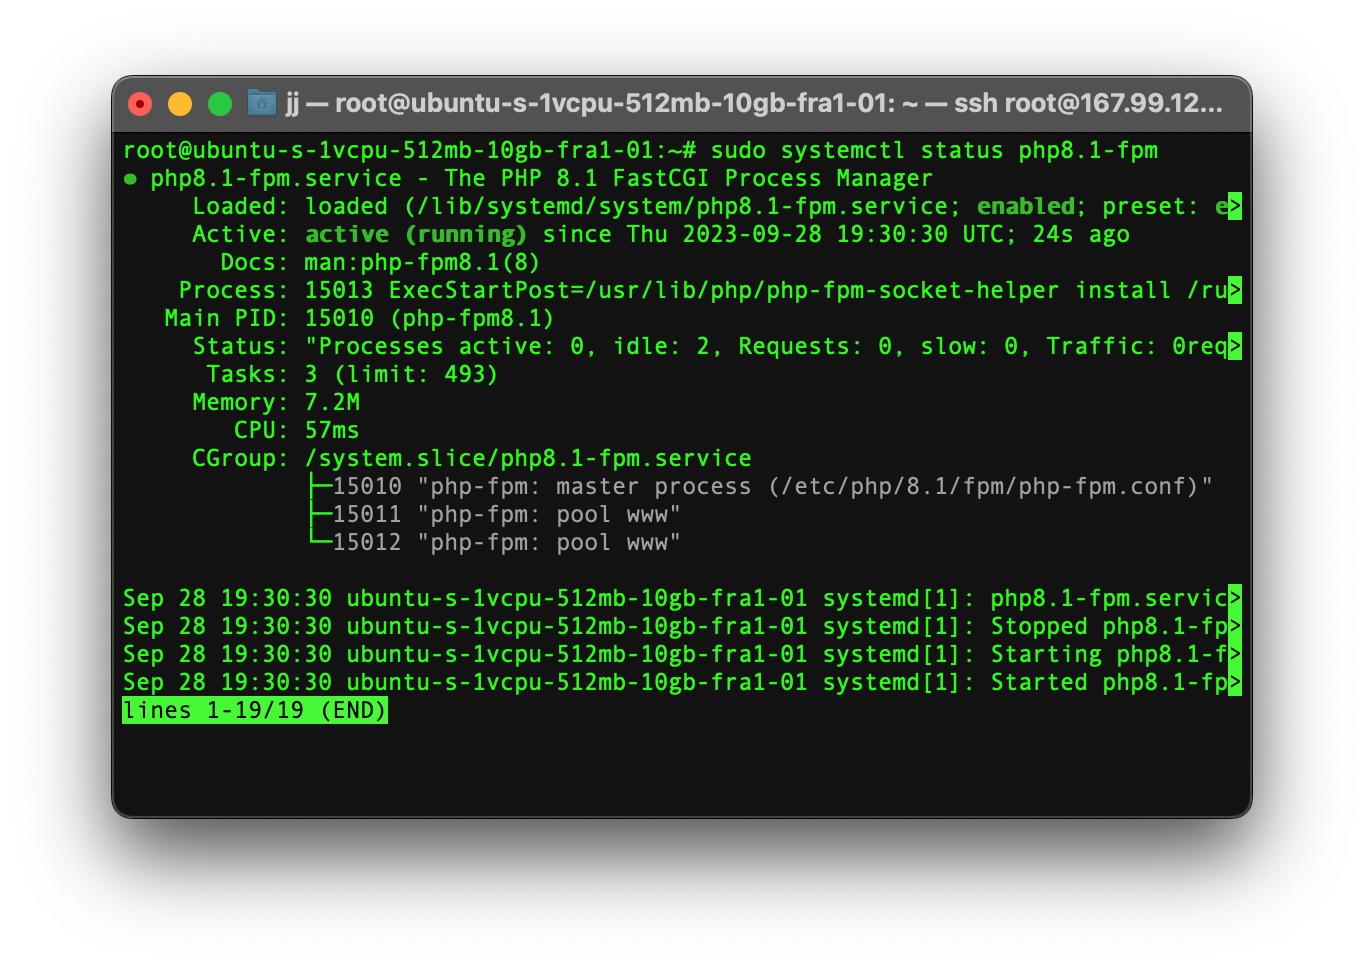
Configure Nginx with PHP
Now that we have all the necessary packages in place, it’s time to configure PHP with Nginx.
To configure Nginx with PHP we need to edit the /etc/nginx/sites-available/default by using a text editor. In this tutorial, we will be using Nano, but you can use any text editor you wish.
Type the command below to open the configuration file:
sudo nano /etc/nginx/sites-available/default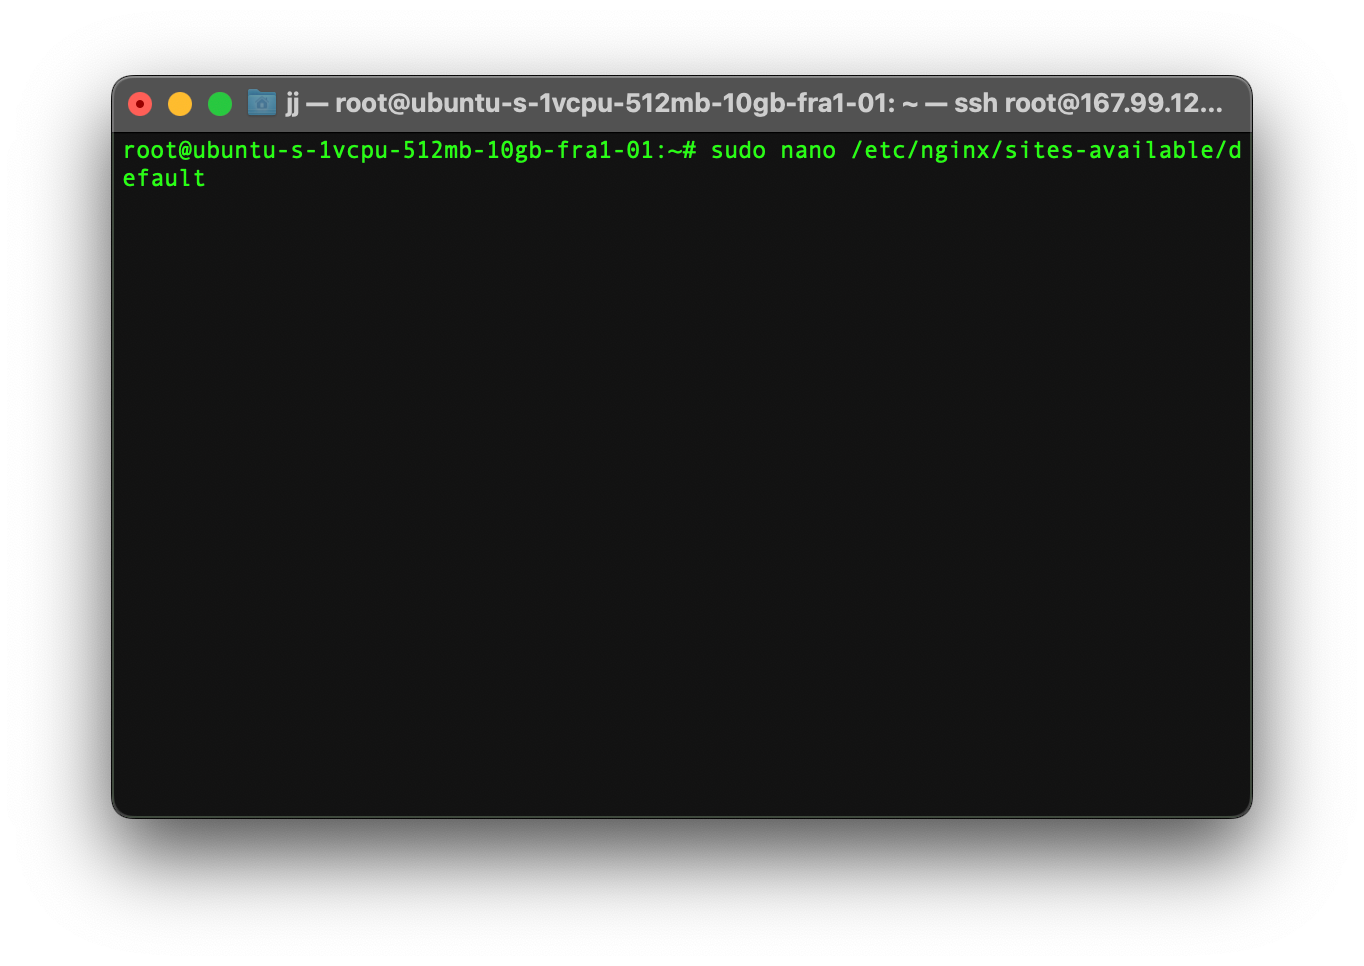
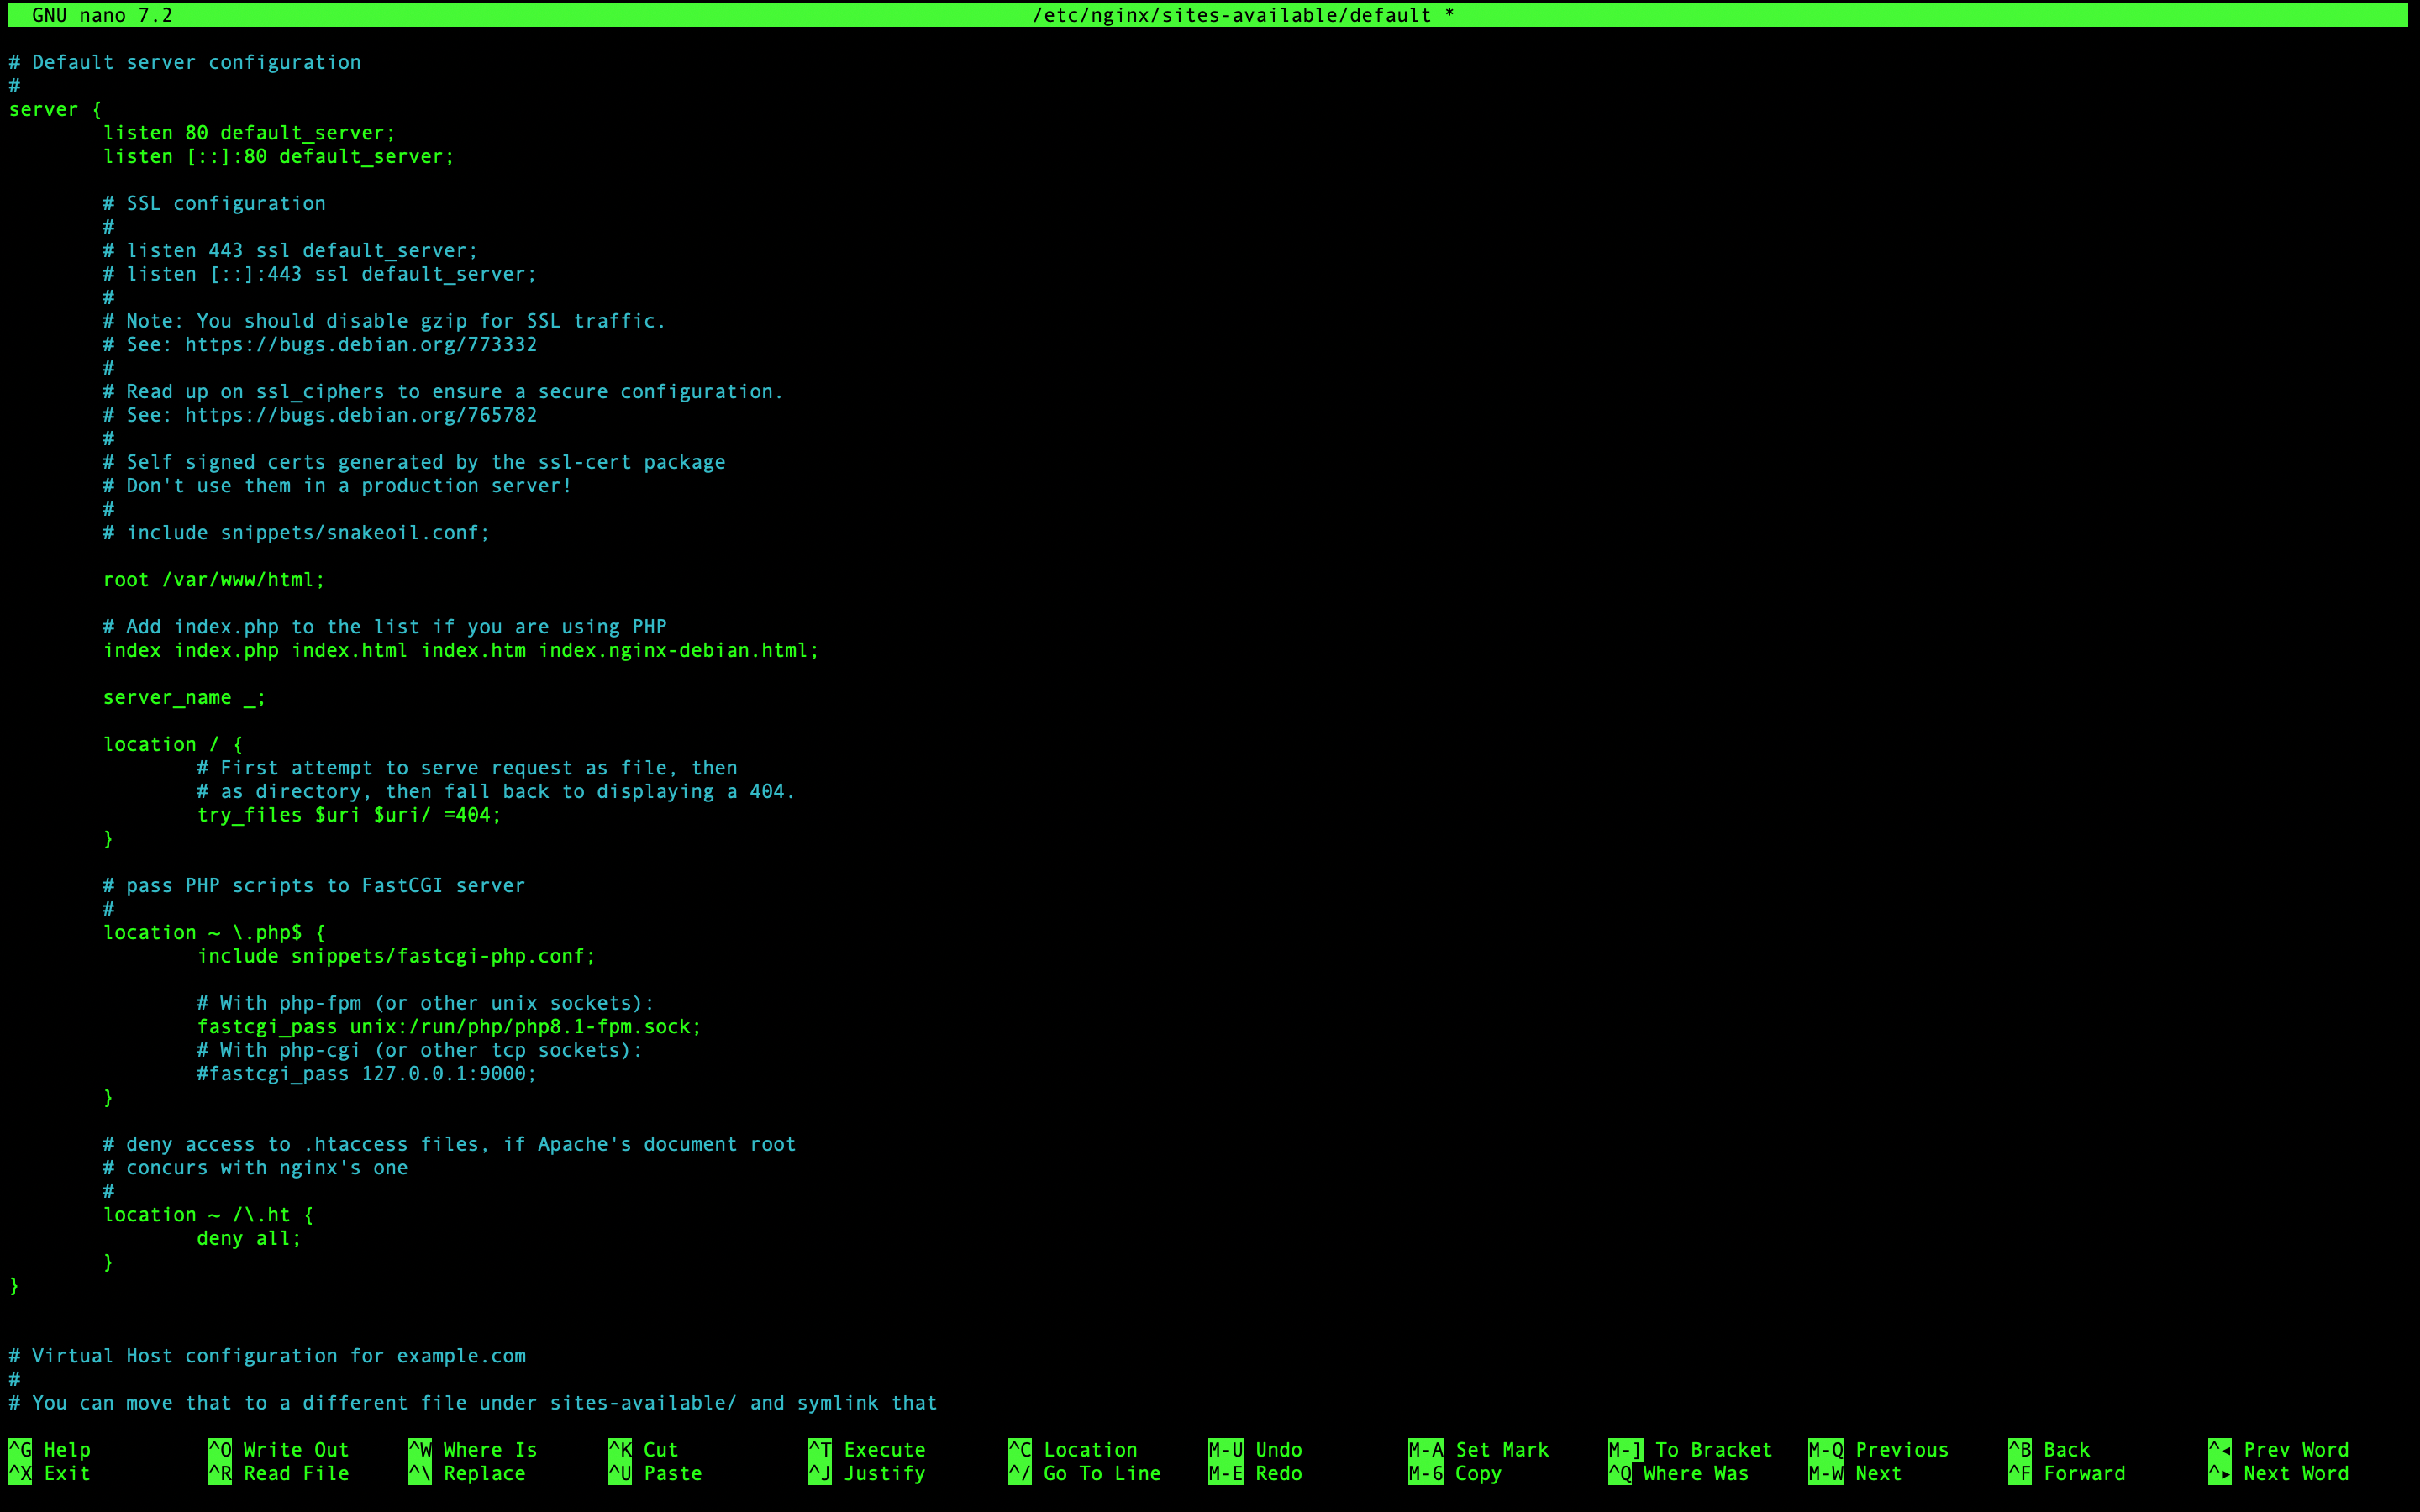
After opening the file we need to add some values and uncomment some lines. The original file looks something like this:
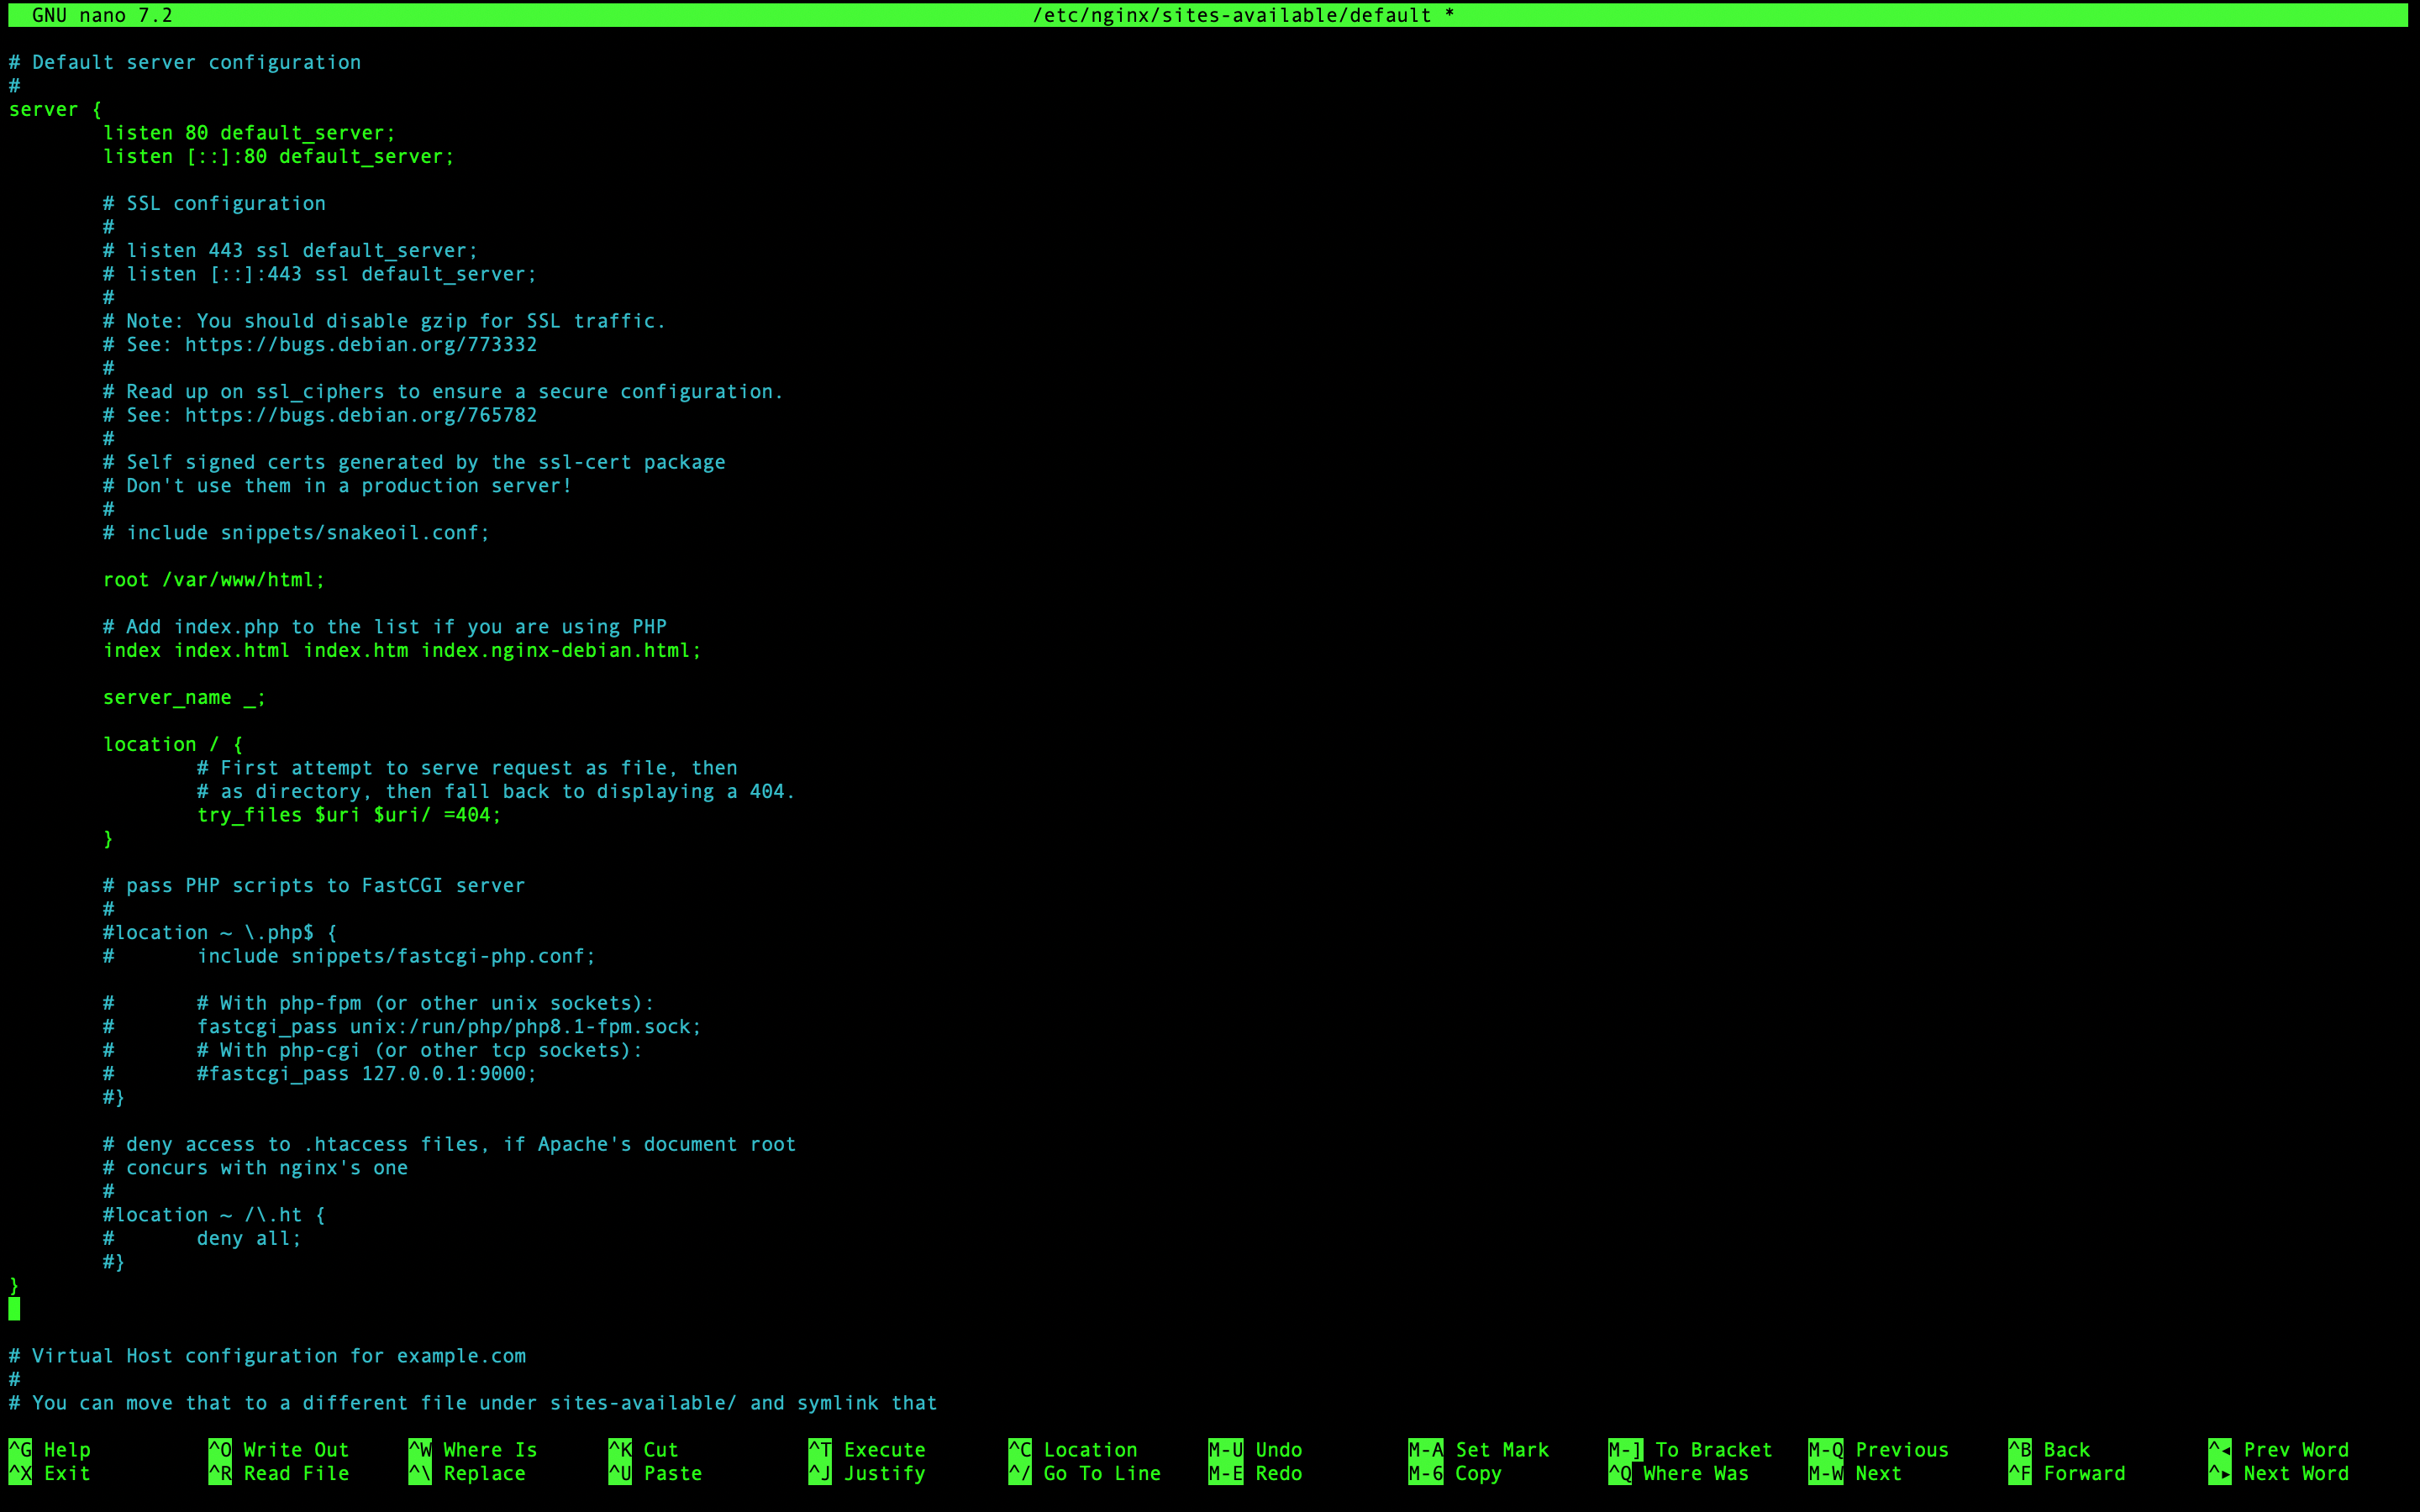
Adding Index.php
Add index.php into the file list:
index index.php index.html index.htm index.nginx-debian.html;Uncomment some lines
Uncomment the script in the below manner as shown:
# pass PHP scripts on Nginx to FastCGI (PHP-FPM) server
  location ~ \.php$ {
    include snippets/fastcgi-php.conf;

    # Nginx php-fpm sock config:
    fastcgi_pass unix:/run/php/php8.1-fpm.sock;
    # Nginx php-cgi config :
    # Nginx PHP fastcgi_pass 127.0.0.1:9000;
  }
Also, uncomment the last script as shown below:
location ~ /\.ht {
    deny all;
}
Here is the finished format of the file:
Restart Nginx server
At this step, we need to restart our Nginx server to apply the changes to our server.
sudo systemctl restart nginx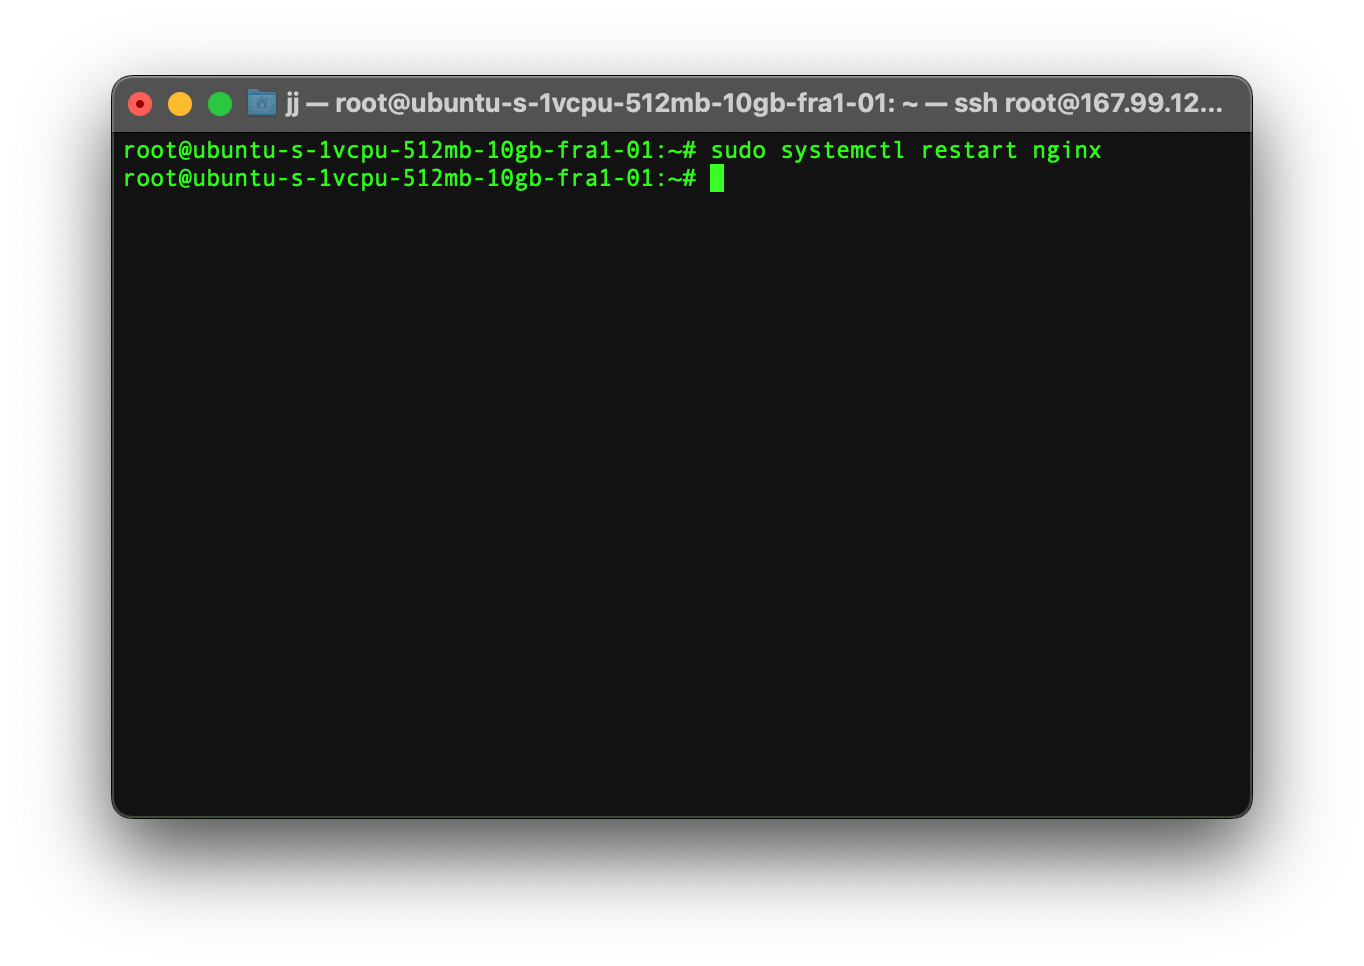
Create a Test PHP Page
The last step is to test whether PHP-FPM works or not.
First, change permissions on the /var/www/html path, so that we can create a new php file in it.
sudo chmod -R 777 /var/www/html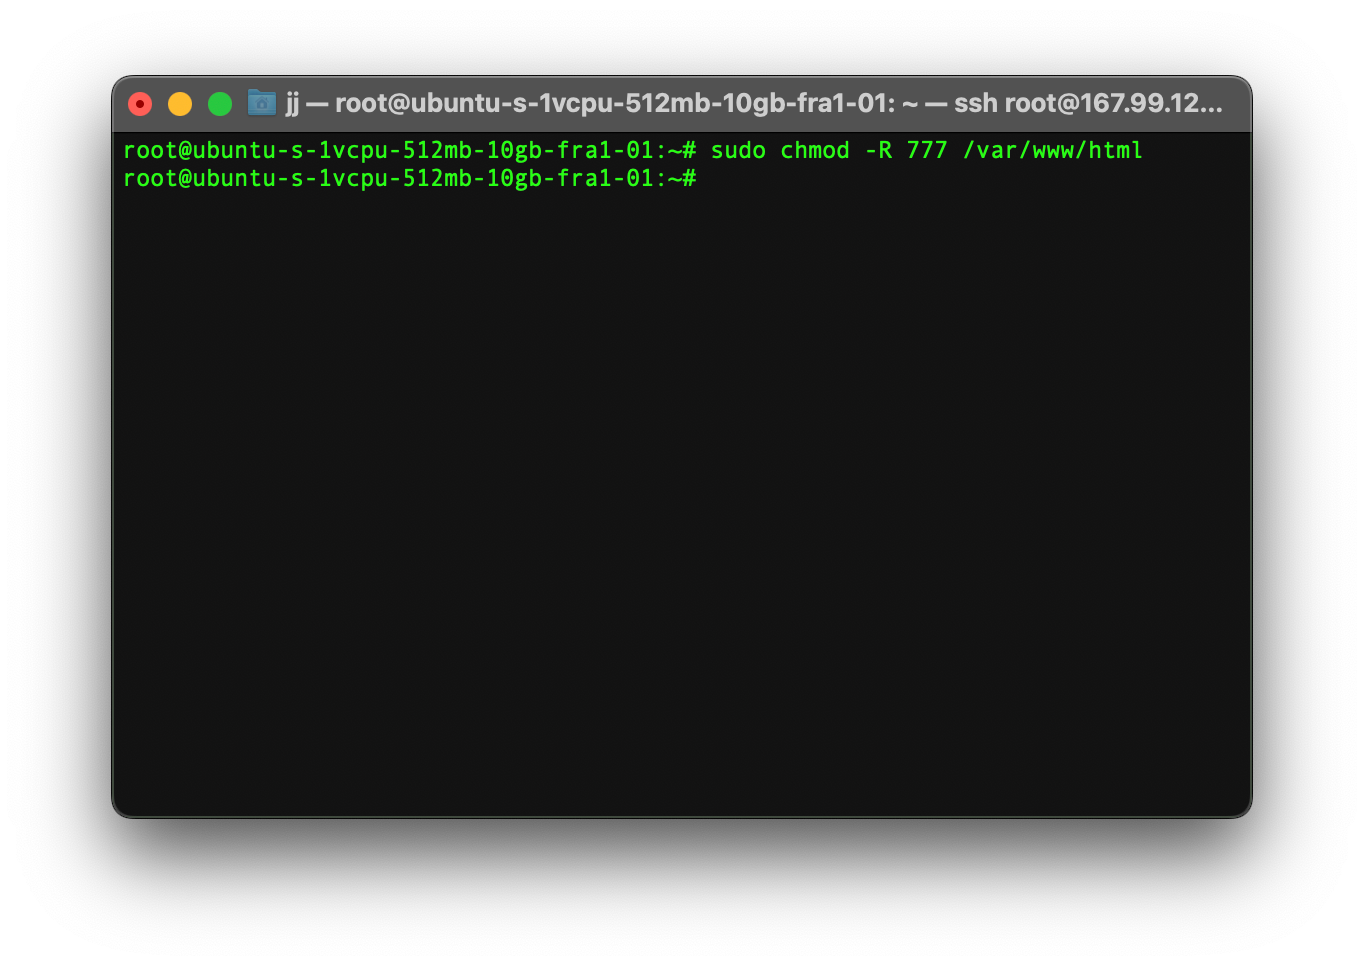
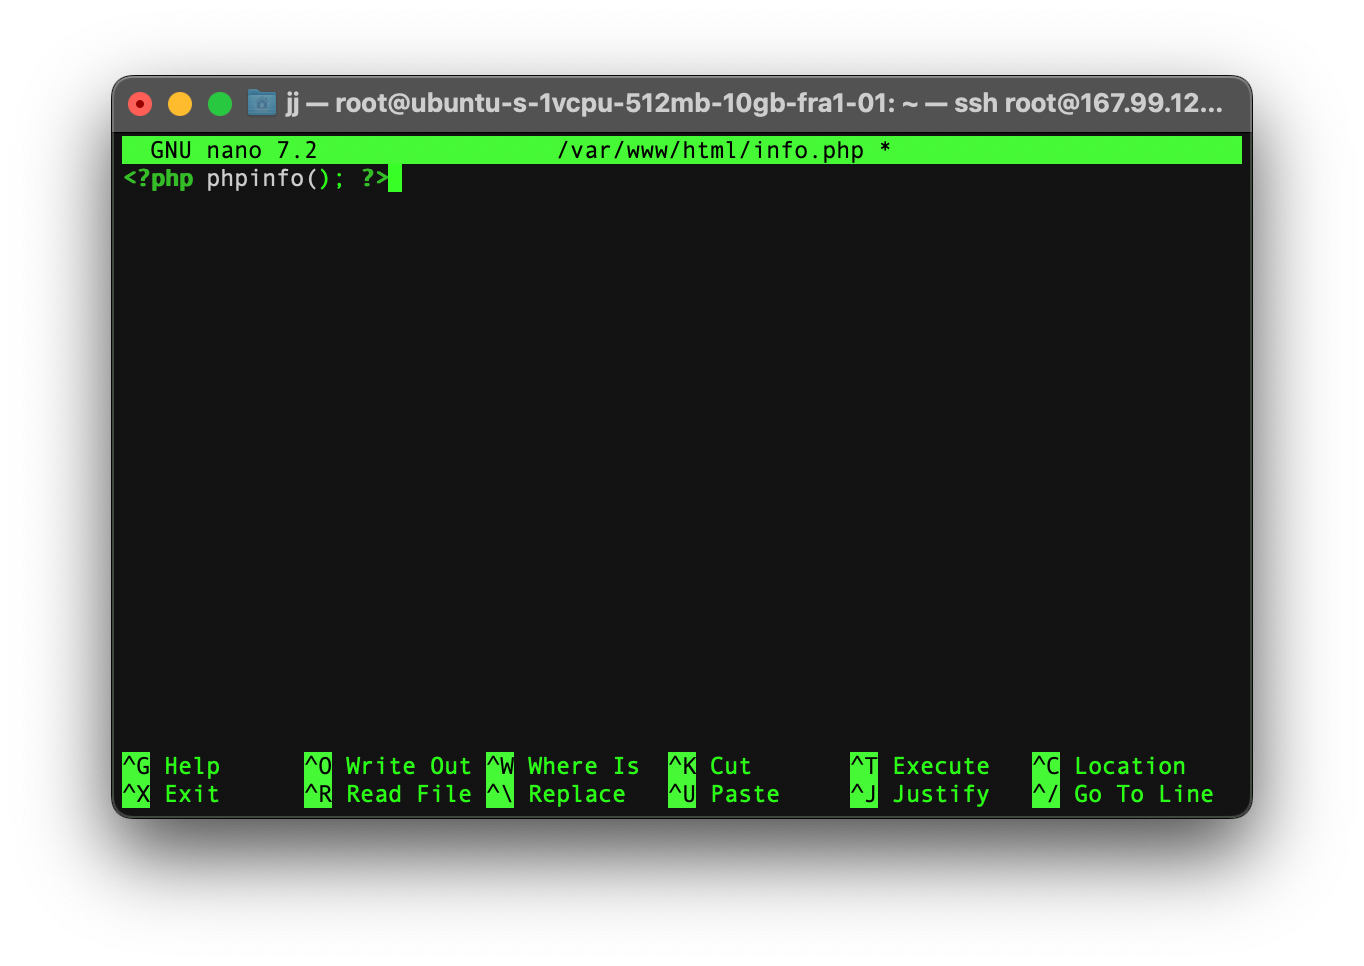
After that, we need to create a new file by typing the command below:
nano /var/www/html/info.phpAfter you have opened the file you can either write something yourself or use the phpinfo() function to create a test page.
<?
    php phpinfo();
?>
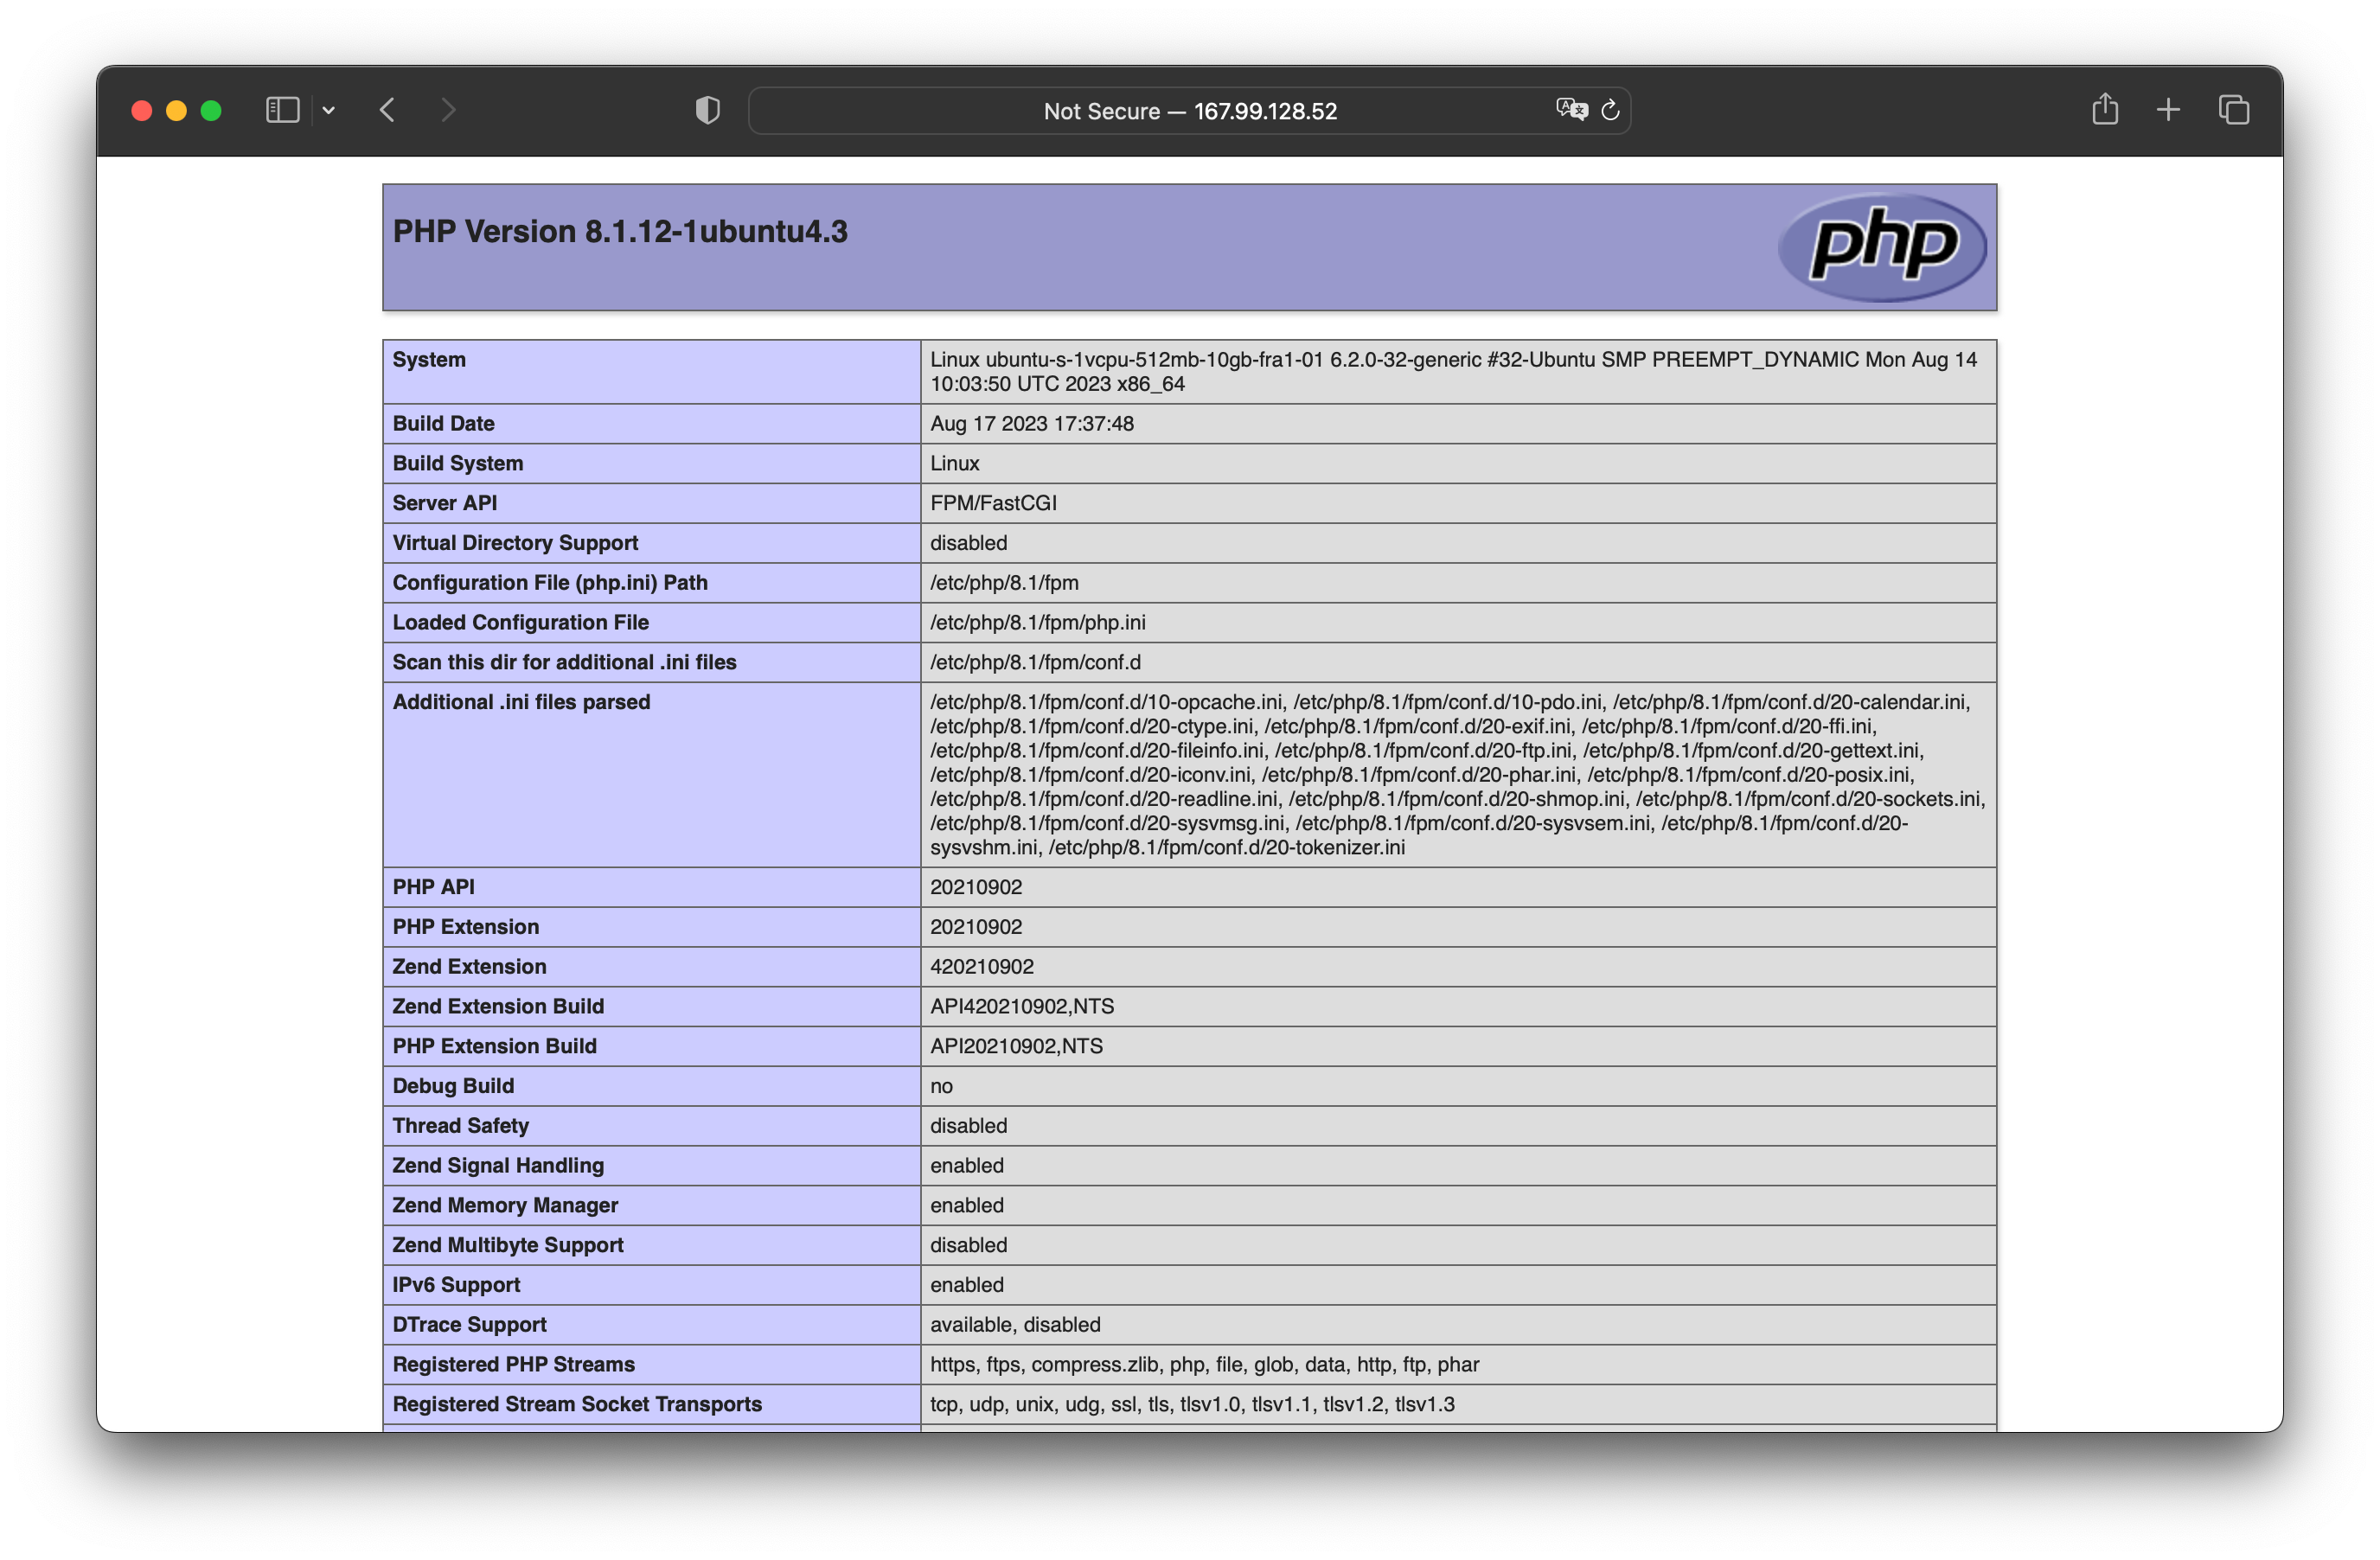
Setup complete
Congratulations! If everything goes well, you will see the info.php file by typing your server’s IP address or localhost followed by info.php on a browser.
Troubleshooting a “502 Bad Gateway” Error Message
If you get a 502 error message while setting up PHP-FPM, not to worry. Here, we explain all the possible solutions to this problem.
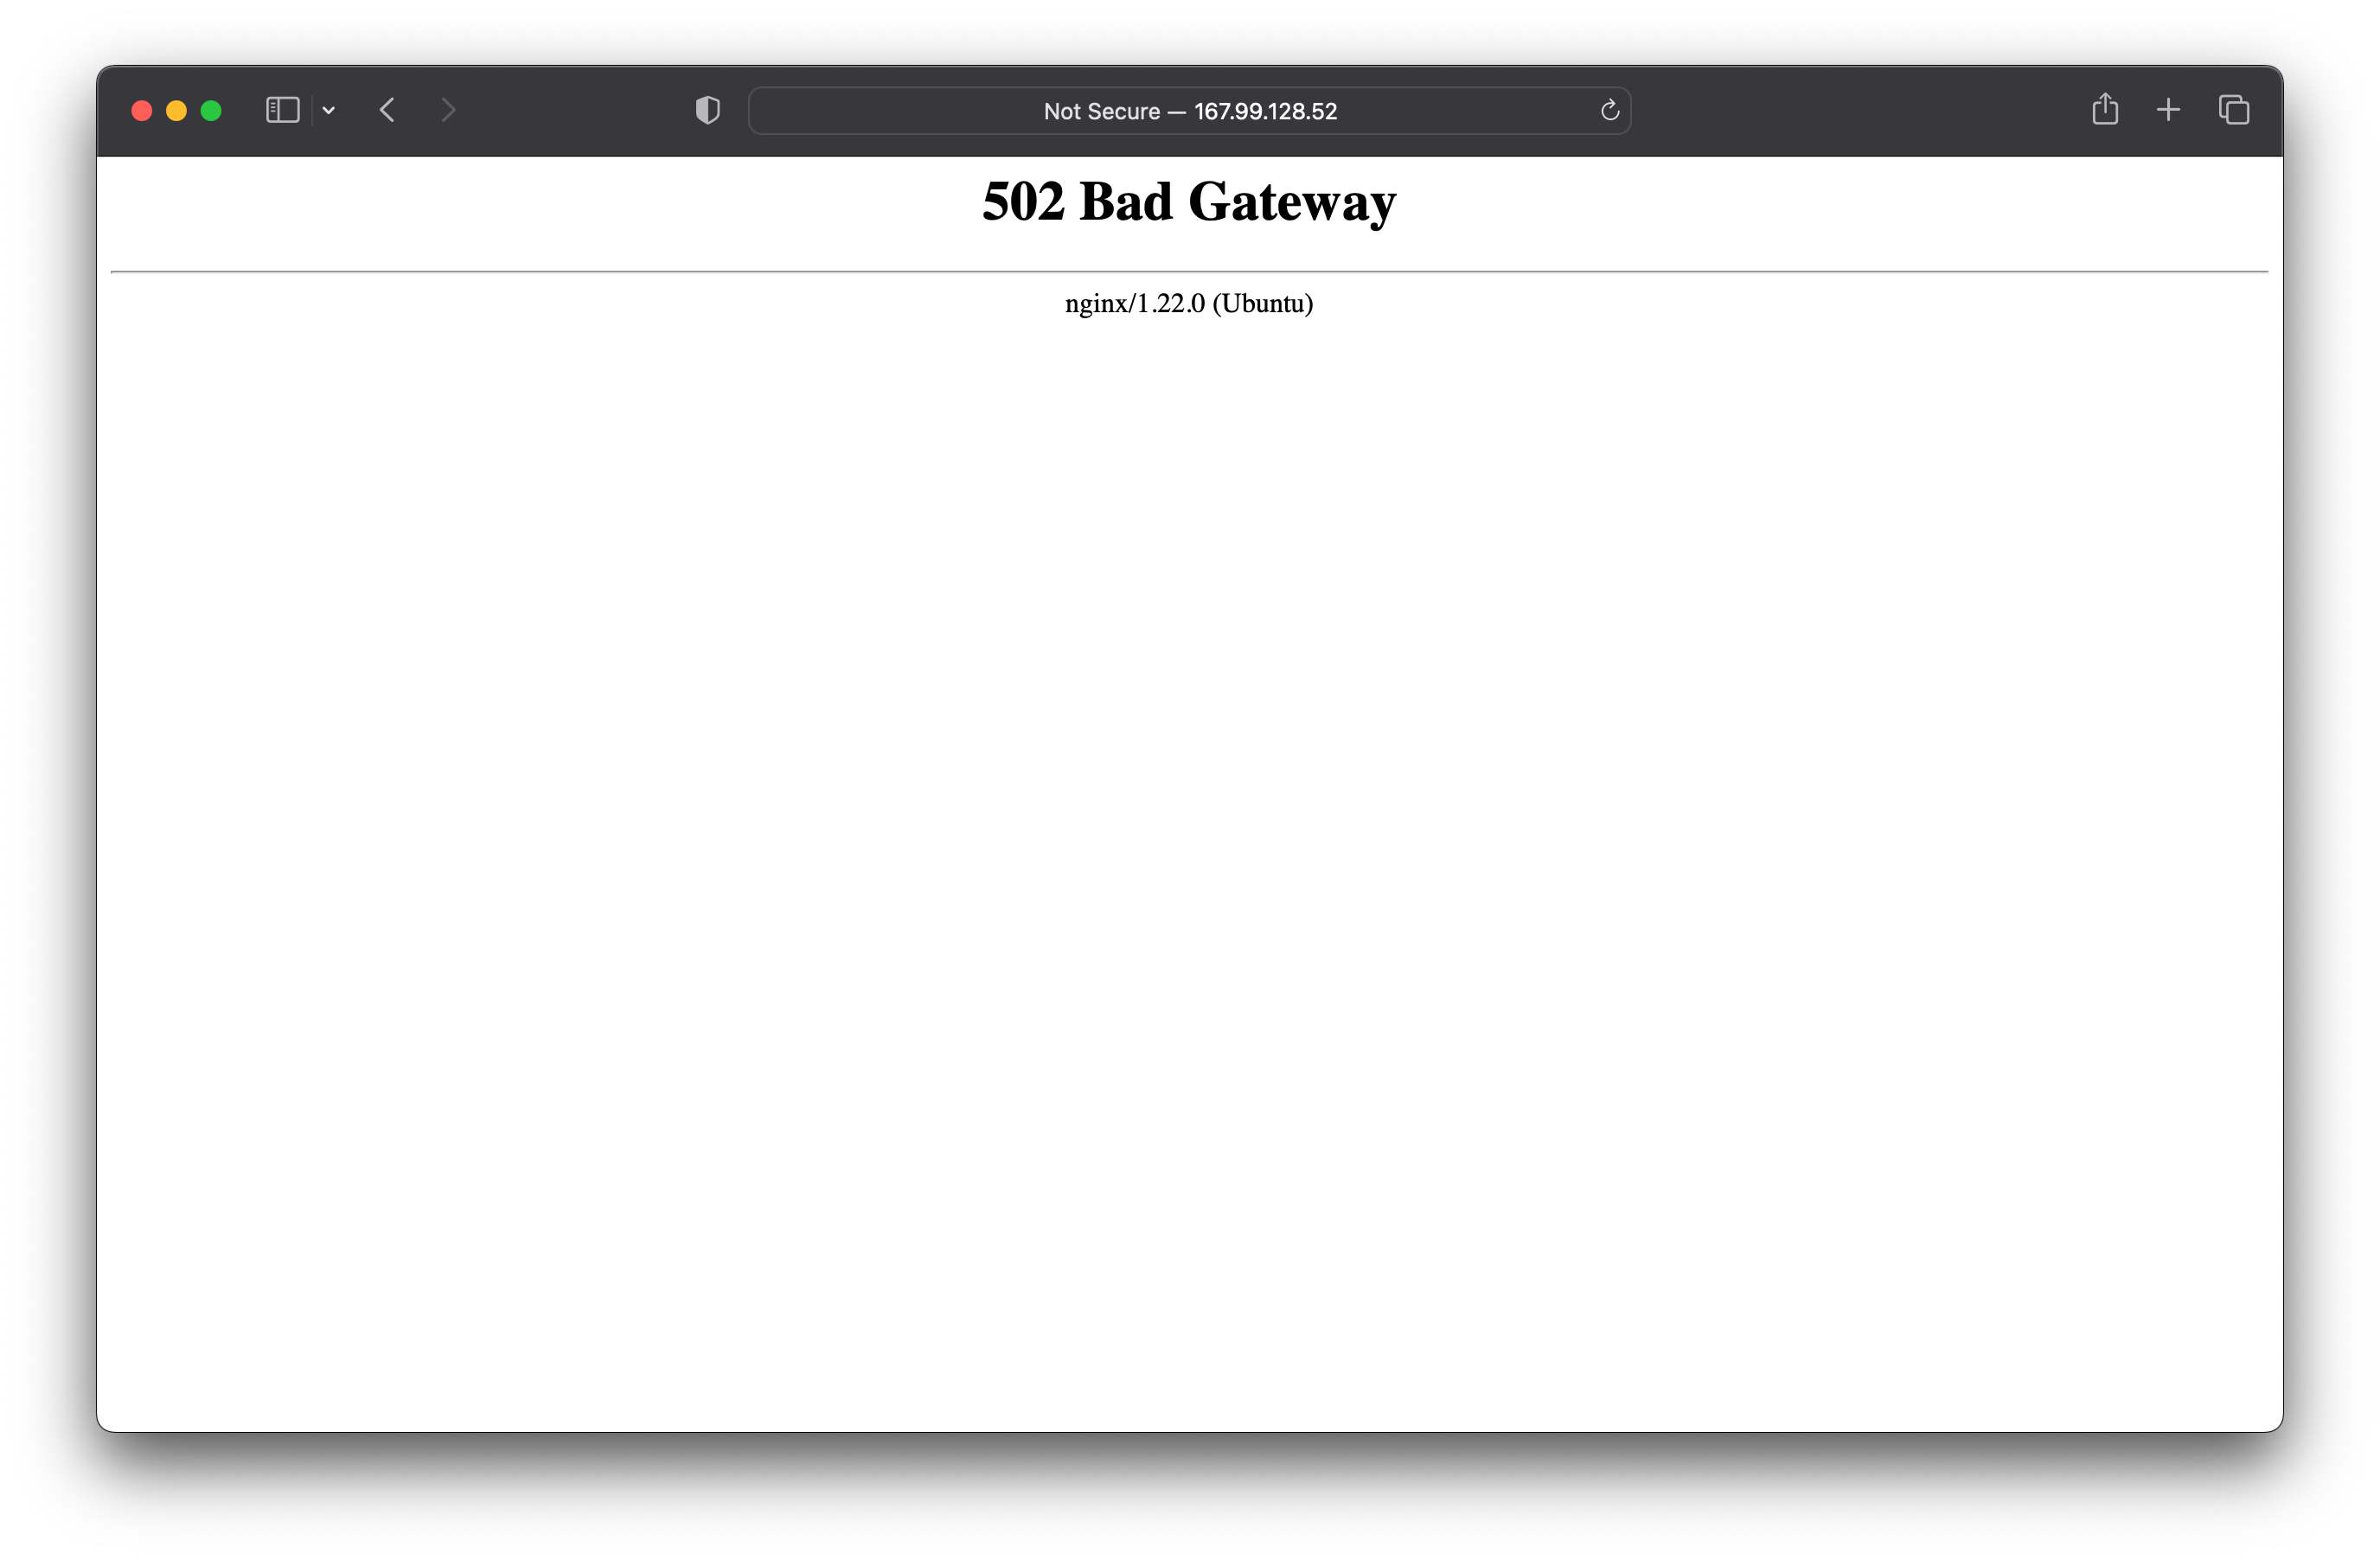
Error in Nginx configuration file
The most likely problem is that there is an error or mistake in your Nginx configuration file. This file is located in /etc/nginx/sites-available/default. This is the file that we previously edited.
Some of the possible problems could be:
- The PHP version is written wrong: If you see that in this line the PHP version is wrong, then you can change it. fastcgi_pass unix:/run/php/php8.1-fpm.sock;
- You forgot to uncomment a line
- You did not save the file
Server restart
Sometimes you simply need to restart the nginx server. It is generally a good idea to do a restart after every change in the Nginx file or configuration.
To restart the Nginx server, type the command below:
sudo systemctl restart nginxPHP-FPM is not working
It may also be possible that PHP-FPM is not working properly. When this happens, you may see a ‘508 Bad Gateway’ error.
Type the command below to start PHP-FPM.
sudo systemctl status php8.1-fpmConclusion
PHP-FPM (PHP FastCGI Process Manager) is a popular way to run PHP applications on web servers like Nginx. Here’s a summary of some key features with PHP-FPM when used with Nginx:
- Separate Process Pool: PHP-FPM maintains a pool of PHP worker processes that are separate from the web server, in this case, Nginx. This separation leads to better resource utilization and scalability.
- High Performance: PHP-FPM is designed for high performance. It can handle a large number of concurrent PHP requests, making it suitable for handling heavy web traffic and high-demand applications.
- Isolation: Each PHP-FPM process is isolated from others, which means that issues in one PHP script or process won’t affect the stability of the entire web server. This isolation improves the overall reliability of the web server.
- Resource Management: PHP-FPM allows you to configure and control various aspects of resource management, such as the number of worker processes, how they handle requests, and how they manage memory.
All in all, PHP-FPM is a powerful and efficient way to manage PHP processes, in particular when combined with Nginx as a web server. It helps ensure the reliable execution of PHP scripts, high performance, and scalability for web applications.
In this guide, we’ve explained how to setup PHP on Nginx with FastCGI PHP-FPM and have given you a better understanding of what it is used for. If you would like to learn more about PHP, take a look at our complete guide to variables in PHP. We also recommend taking a look at our Knowledge Base to see our latest articles and tutorial videos to help you setup your dedicated servers or cloud servers with ServerMania.
Need even more advice or would you like a custom quote? Don’t hesitate to reach our for a free consultation. We’re here to help empower you, every step of the way.
Was this page helpful?
About the author