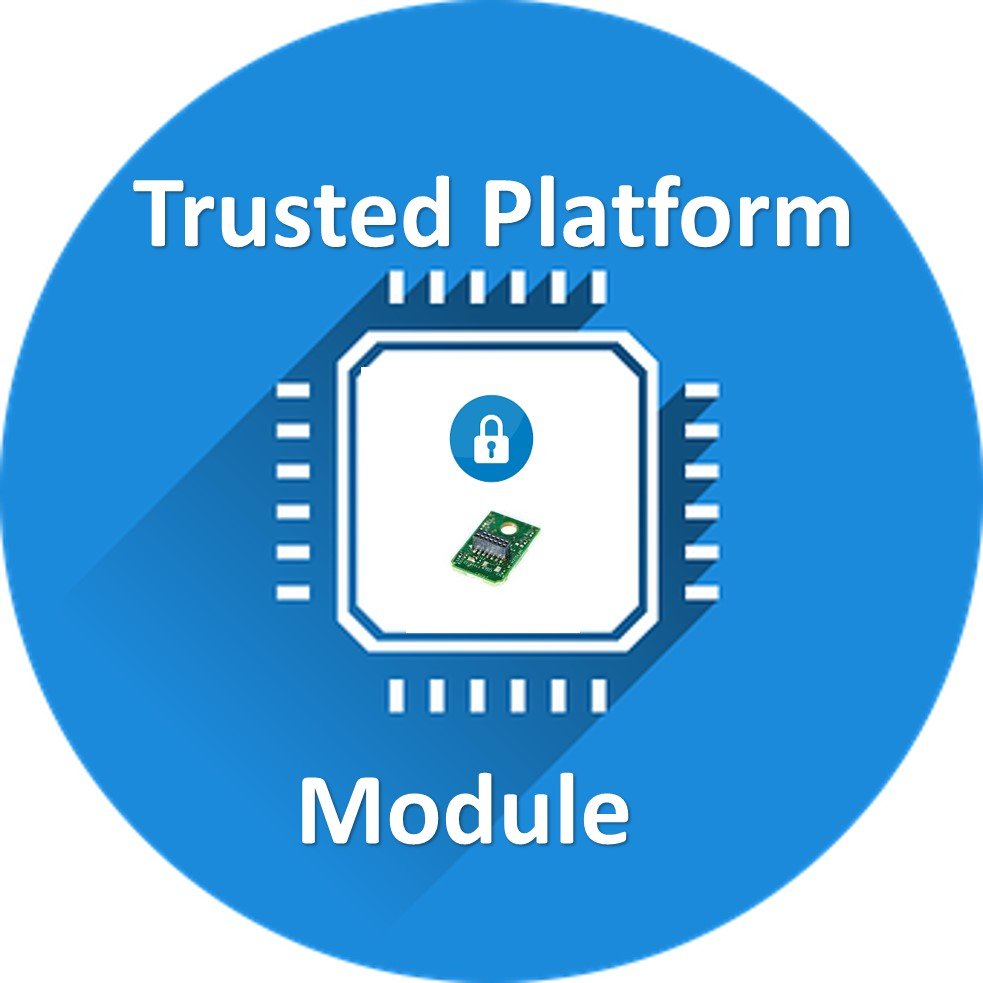
What is a Trusted Platform Module (TPM)?
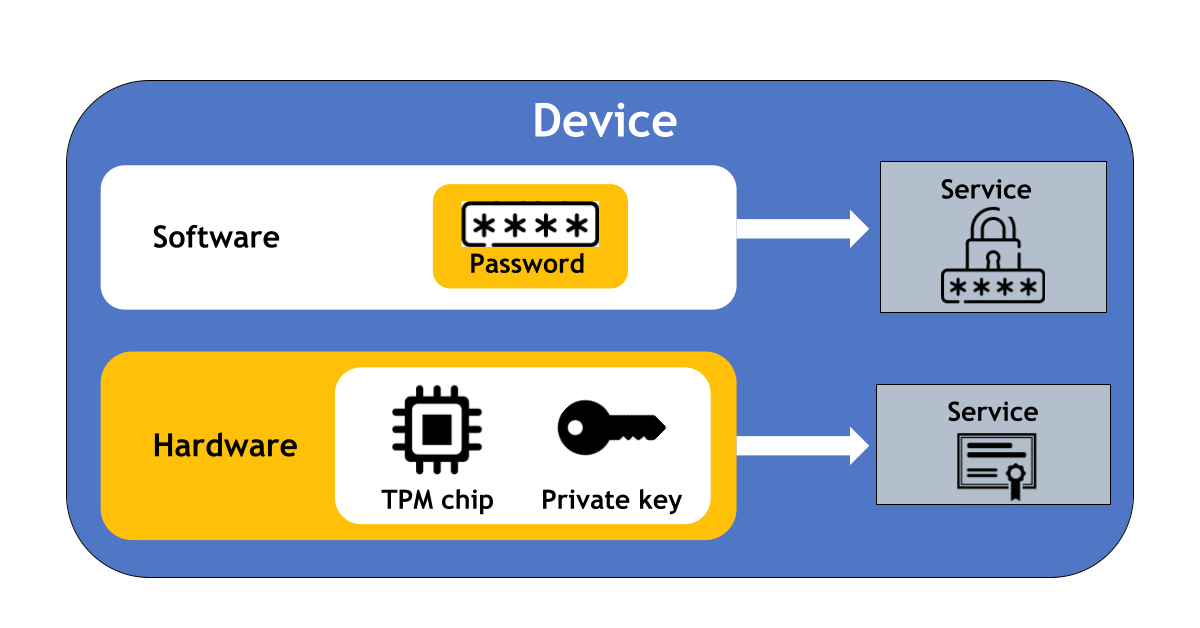
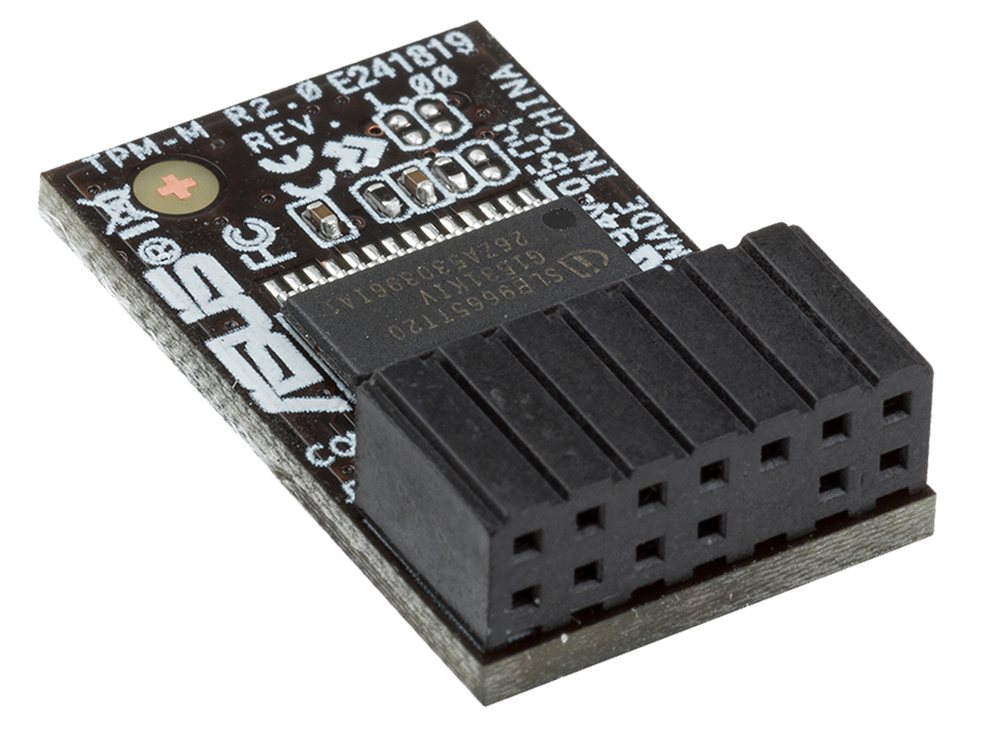
A Trusted Platform Module (TPM), also known as a cryptoprocessor, is a standalone computer typically stored on a chip, either on your motherboard or potentially as an added piece of secure hardware added to older machines. In some cases, TPM is emulated by some of the other chips in your machine. The secure storage offered by the trusted platform module is highly resistant to breaches due to its independence from the device’s operating system, making it exceptionally difficult to break.
ServerMania has been focused on keeping your information safe and secure since 2002. We use only the best hardware and carefully adhere to industry best practices to deliver the best server experience for your business.
Read More: Server Security at ServerMania
In general, PC producers typically list trusted platform modules as security features for laptops and desktops, and TPM is usually a system requirement for users using the Windows 11 operating system. However, you might wonder why it’s a requirement on Windows 11 or what it’s purpose is.
While using Windows 11 or trying to install the PC health checker by Microsoft Windows you may come across notifications like “check system requirement”. System requirements are one of the major tests your PC needs to pass to be able to install Windows 11 successfully.
The idea behind the Trusted Platform Module is to make computers more secure, and the best way to decide why you might need one is to think about how many security challenges you’ll face without something to shield your PC. Let’s get into it by looking at how TPM works, how we can use it, and why we need it.
What is TPM?
TPM became popular once it became an installation requirement for the Windows 11 operating system. A Trusted Platform Module is a computer chip that can securely store RT crafts used to authenticate the platform and hardware with integrated cryptographic keys. These RT crafts can include passwords, certificates, or encryption keys. So it is safe to say TPM is a hardware based security. Also, it works well in storing platform blueprints that ensure the platform remains trustworthy. Authentication and remote attestation are necessary steps to ensure a trusted computing group in all environments.
How Does Windows Use TPMs, and Why Are They Required?
So we know what a TPM is, but the real question here is how it works and how it helps protect your computer or organization’s devices. Without boring you with all of the details of the architectural structure of this technology, let us look at its working process.
The trusted platform module provides secure storage that is exceptionally difficult to break because it is a separate component independent of the device’s operating system. So it is not vulnerable to any security risk in the OS itself or any software-based attacks. It is not vulnerable to physical attacks either; the TPM chip can tell if the hardware has been tampered with or removed and can be configured into a self-destruct mode against attacks. The process is called Tamper Protection in IT security. Unlike other Windows licensing requirements, the TPM chip does not have to be hooked to cloud servers; it sits right in your physical machine.
Together with a secure boot, it helps to protect from common malware, ransomware, and other sophisticated attacks, like the new trending firmware TPM attacks that happen below the operating system. They hook themselves to the OS so that antivirus or other detection software cannot find them due to the fact that they are embedded in the operating system. TPM implementations are logical and necessary steps to protect company data, disk encryption, and cryptographic keys from software attacks.
According to Microsoft, TPM has been shown to reduce malware attacks by 60% on tested devices. With the TPM technology onboard, you can use it to store biometrics data and ditch passwords completely. The requirement makes sense, giving room for more optimized performance and less security risk.
Does My PC Already Have TPM Chip 2.0?
To check if your PC already has TPM (Trusted Platform Module), you can follow these steps:
- Check the Device Manager:
- Press Win + X and select “Device Manager” from the menu.
- Look for a category named “Security devices” or “System devices.”
- If you see an entry called “Trusted Platform Module” or something similar, it indicates the presence of TPM on your system.
- Check BIOS/UEFI Settings:
- Restart your computer and access the BIOS/UEFI settings. You can usually do this by pressing a key like Delete, F2, or F10 during the boot process.
- Navigate through the settings and look for an option related to TPM. The exact location and name of this setting can vary depending on the motherboard and BIOS/UEFI version.
- Use the TPM Management Console:
- Press Win + R to open the Run dialog box.
- Type tpm.msc and press Enter.
- If TPM is installed, the TPM Management Console will open, and you will see information about the version of TPM.
- Check with System Information:
- Click on Win + R to open the Run dialog box.
- Type msinfo32 and press Enter.
- In the System Information window, look for an entry called “TPM Version.” If it’s present, it will indicate the TPM version installed.
- Command Line Check:
- Open Command Prompt as an administrator.
- Type the following command and tap the Enter key:
wmic /namespace:\\root\cimv2\Security\MicrosoftTpm path Win32_Tpm get * /valueLook for the “SpecVersion” value. If it’s 2.0, you have TPM 2.0.
Can I Add a TPM to My PC?
Yes, in many cases, you can add a TPM to your PC, especially if your motherboard has a TPM header or slot designed to accommodate such a module. if your system is older, you may need to check for a BIOS/UEFI update to ensure compatibility with TPM technology. Refer to your motherboard’s manual and documentation for specific guidance on TPM installation. Here are the general steps you can follow:
- Check Your Motherboard Compatibility:
- Ensure that your motherboard has a TPM header or slot. You can find this information in your motherboard’s manual or by checking the manufacturer’s website.
- Purchase a TPM Module:
- Buy a TPM 2.0 module that is compatible with your motherboard. TPM technology is typically available from various manufacturers.
- Install the TPM Module:
- Power off your computer and disconnect it from the electrical outlet.
- Open your computer case to access the motherboard.
- Locate the TPM header on your motherboard. It is usually labeled as “TPM,” and the module may have a pin header or slot.
- Align the pins on the TPM module with the header or slot and gently press the module into place.
- Connect the TPM Module:
- If your TPM module has a cable, connect it to the appropriate header on your motherboard.
- Power On and Enable TPM in BIOS/UEFI:
- Power on your computer.
- Access the BIOS/UEFI settings by pressing the designated key during the boot process (common keys include Delete, F2, or F10).
- Navigate to the security or advanced settings and look for TPM-related options.
- Enable TPM and save the changes before exiting the BIOS/UEFI.
- Install TPM Drivers (if necessary):
- Depending on your operating system, you may need to install TPM drivers. Windows usually includes TPM drivers, but checking for updates through Windows Update is a good idea.
- Verify TPM Installation:
- Use the methods mentioned in the previous response to verify that the TPM is recognized and functioning correctly on your system.
How to Reset TPM (Trusted Platform Module) on Windows PC
Resetting TPM on a Windows PC involves clearing the TPM and may require additional steps to reinitialize it. Here’s how you can reset the TPM on a Windows PC:
Method 1: Using TPM Management Console
- Press Win + R to open the Run dialog.
- Type tpm.msc and press Enter.
- In the TPM Management Console:
- Click on “Clear TPM” in the Actions pane on the right.
- Follow the on-screen instructions to complete the process.
- Restart your computer if prompted.
Method 2: Using PowerShell
- Open PowerShell as Administrator:
- Right-click on the Start menu and select “Windows PowerShell (Admin)” or “Command Prompt (Admin).”
- Run the following command:
This command clears the TPM.
Clear-Tpm- If necessary, restart your computer:
Restart-ComputerMethod 3: Clearing TPM in BIOS/UEFI
- Access the BIOS/UEFI settings:
- Restart your computer and press the designated key (commonly Delete, F2, or F10) to enter the BIOS/UEFI.
- Navigate to the TPM settings:
- Look for a section related to security or advanced settings.
- Find an option to clear the TPM or reset it.
- Follow the on-screen instructions to clear the TPM.
- Save changes and exit:
- Save changes and exit the BIOS/UEFI.
- Restart your computer:
- If not prompted to restart, manually restart your computer.
Method 4: Using TPM Management PowerShell Cmdlets
- Open PowerShell as Administrator.
- Run the following commands:
$tpm = Get-WmiObject -Namespace "Root\CIMv2\Security\MicrosoftTpm" -Class Win32_Tpm $tpm.SetPhysicalPresenceRequest(10)Restart your computer if prompted.
Notes and Tips:
- Backup Important Data: Before performing any actions that involve resetting or clearing TPM, ensure you have a backup of important data.
- BIOS/UEFI Password: Some systems may require you to enter a BIOS/UEFI password or use a physical presence method to clear the TPM. Refer to your system’s documentation for specific instructions.
- Manufacturer Documentation: Always refer to your device or motherboard manufacturer’s documentation for specific TPM and BIOS/UEFI settings instructions.
Conclusion
As organizations prioritize data security and regulatory compliance, integrating TPM in server infrastructure becomes increasingly crucial. ServerMania’s capabilities extend to providing TPM-enabled servers, allowing businesses to enhance the security posture of their digital assets.
Take the next step in fortifying your digital infrastructure by exploring ServerMania’s security system today! Whether you require Windows dedicated servers, virtual private servers (VPS), or cloud solutions, ServerMania’s commitment to security, performance, and reliability positions it as a trusted partner for your digital business.
Empower your organization with the assurance of TPM-backed security and use ServerMania’s comprehensive server solutions today. Safeguard your data, streamline operations, and stay ahead in the competitive digital landscape.
Was this page helpful?
About the author

